What is Content Filtering?
Bitdefender Parental Control’s Content filtering enables parents to restrict their child’s access to online content. Parents can block entire categories of websites or make exceptions based on URL or topic.
ⓘ Content filtering doesn’t stop your child from using apps or websites offline. It only manages the internet traffic they can access online.
To access the Content filtering feature:
- Visit https://central.bitdefender.com and sign in to your Bitdefender Central account.
- On the left-hand side menu, click on “Parental Control.”
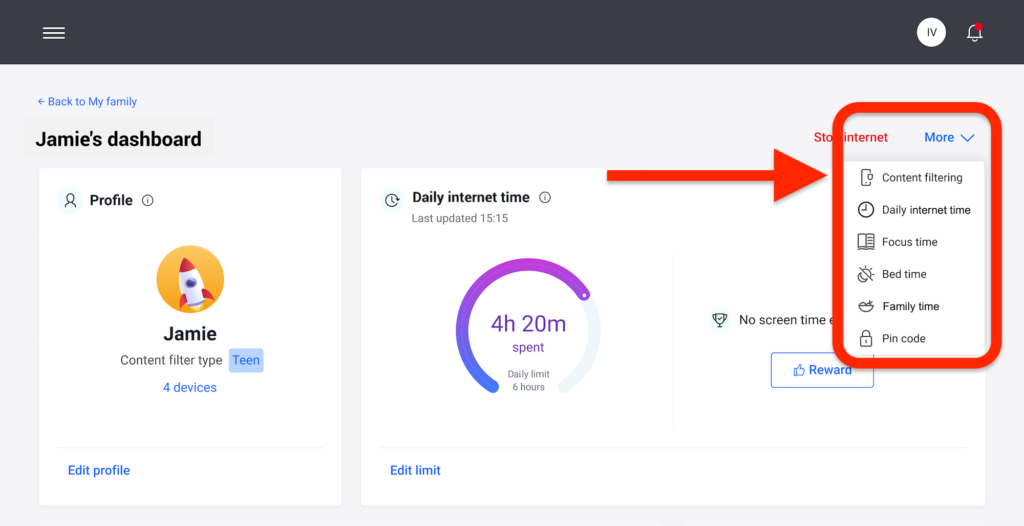
- Go to the child profile, click the “More” menu in the top right, then select “Content filtering”.
Safe Search & YouTube Restricted
In the “Privacy and Safety” section, you can enable the Safe Search and YouTube Restricted switches.
- Safe Search: When using search engines, Safe Search prevents the display of content deemed unsafe by Google in search results.
- YouTube restricted: Provides the child with age-appropriate videos on YouTube.

ⓘ Safe search and YouTube restricted redirect all DNS requests to google.com to safe.google.com. The actual content filtering is done by Google. Bitdefender Parental Control does not filter content within Safe search or Google. Similarly, YouTube may not effectively control tags on videos, potentially exposing children to inappropriate content.
Blocking & Allowing Website Categories
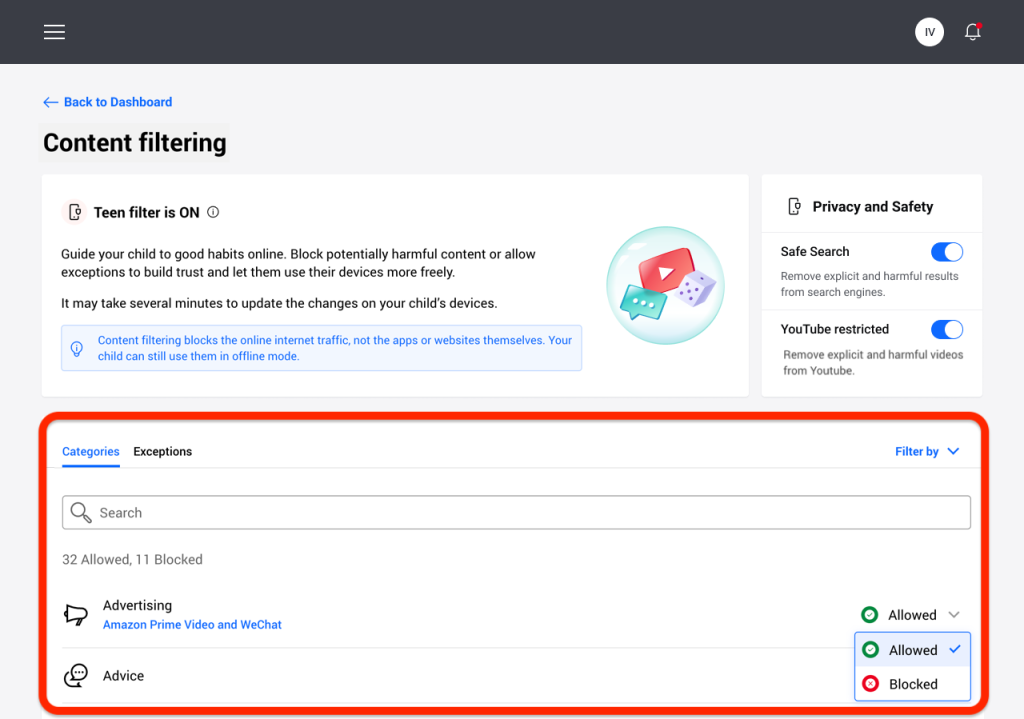
In the “Categories” section, the types of websites your child can see online are allowed or blocked by default, depending on the age set when the child’s profile was created.
These settings can be manually adjusted by parents at any time:
- Select a category, such as Advertising.
- To block access, choose “Blocked” from the drop-down menu. To allow access, choose “Allowed”.
Important! If you block the “File Sharing” category for your child’s profile, the macOS update won’t work. To fix this, temporarily allow File Sharing, update macOS, and then block it again afterward.
Setting Exceptions
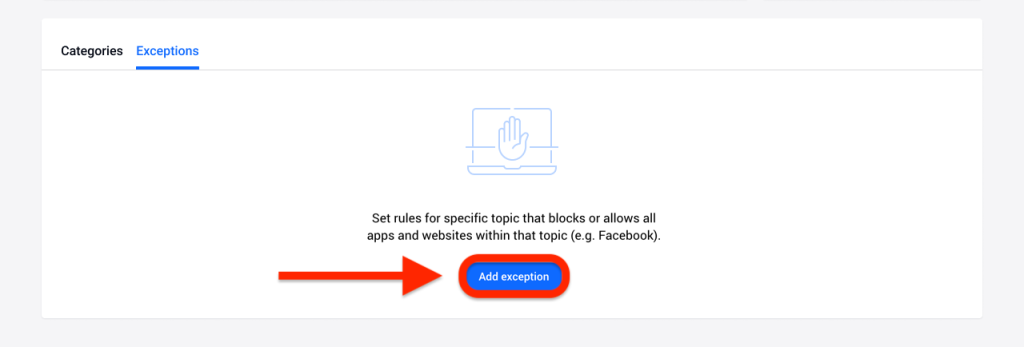
In the Exceptions tab next to the Categories tab, website and application exclusions can be set.
Website exception
With “Website only” exception, specific websites can be allowed or blocked. For example, if you want to block the Social Networking category but make an exception for a particular website, select “Website only”.
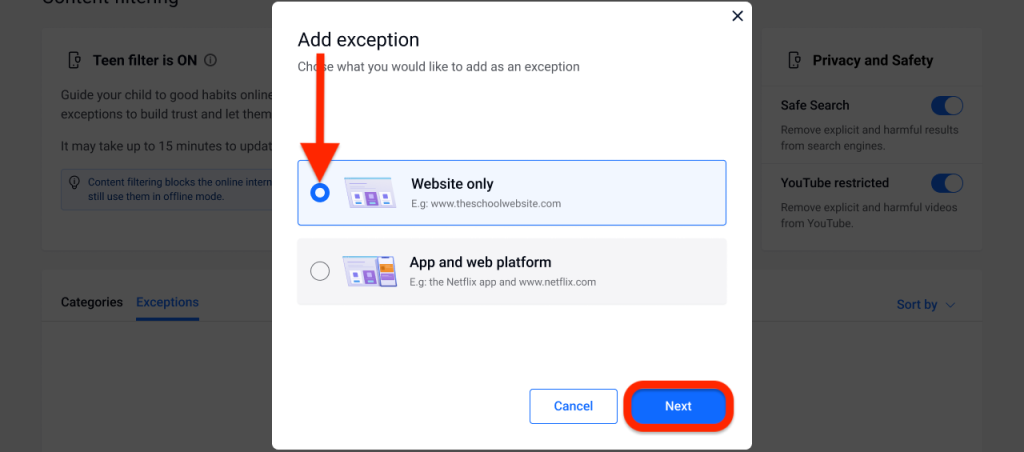
- Click on the “Add exception” button.
- Select “Website only” then click on the “Next” button.
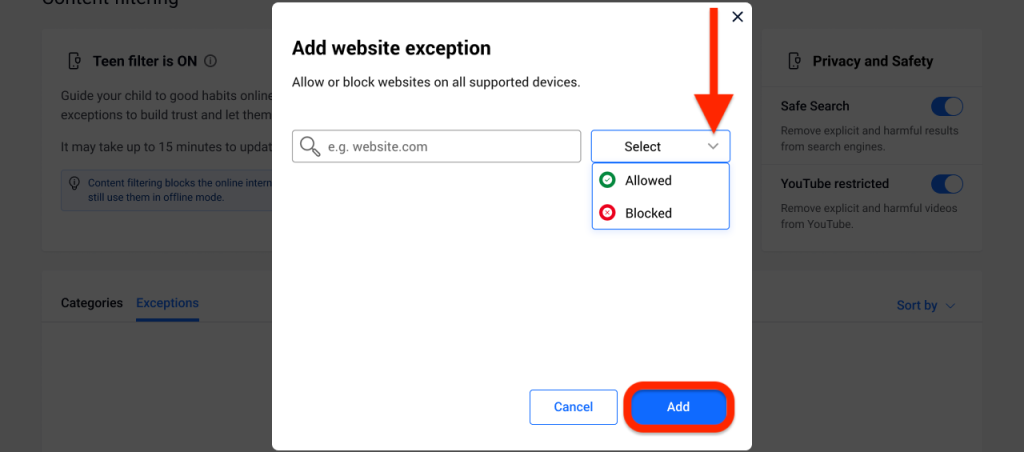
- Type in the website address (e.g. facebook.com) and select whether to allow or block it from the drop-down menu.
- Then click on the “Add” button.
App and web platform exception
With “App and web platform” exception, you can block or allow all content related to a specific topic across different platforms like browsers, mobile apps, or desktop applications. For example, you can allow or block access to Facebook across all platforms by selecting “App and web platform” and choosing “Allowed” or “Blocked” for Facebook.
- Click on the “Add exception” button.
- Select “App and web platform” then click on the “Next” button.

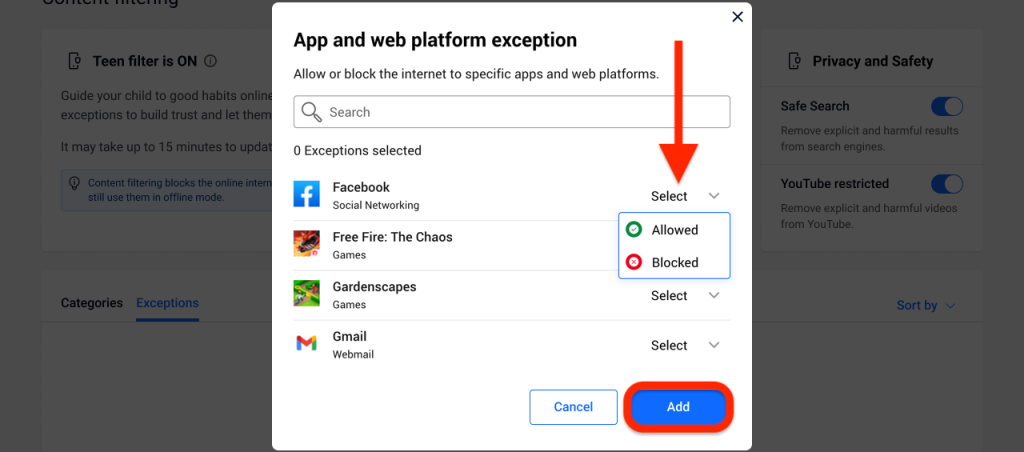
- Choose the platform you wish to make an exception for from the provided list, or use the search bar to find it (e.g. Facebook).
- Select whether to allow or block it from the drop-down menu.
- Then click on the “Add” button.
Removing Exceptions
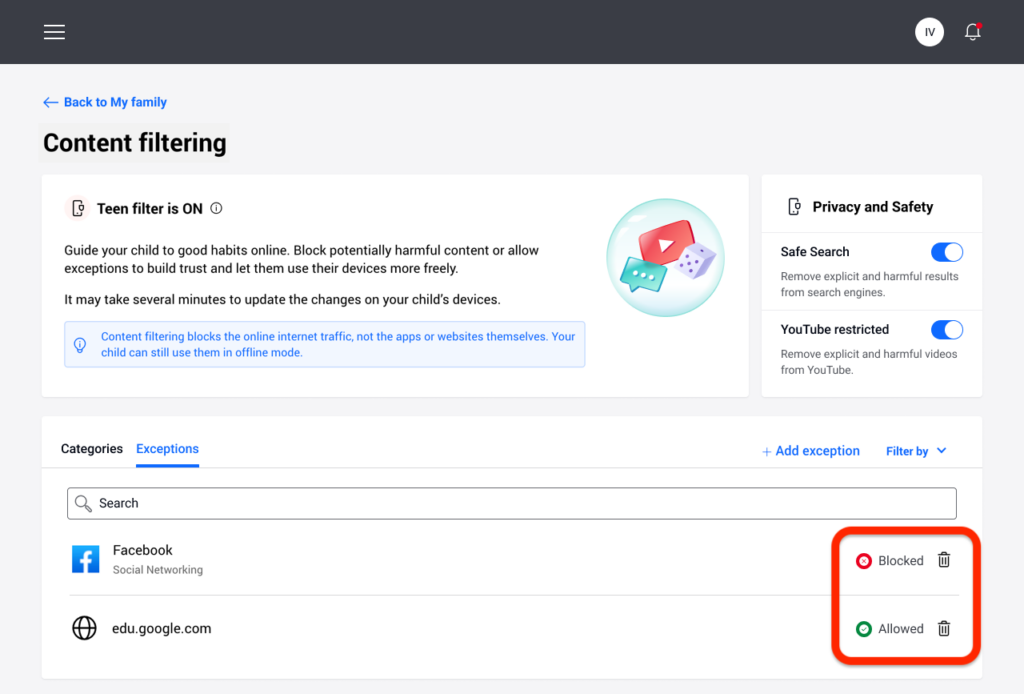
All exceptions that you set up will appear in Content filtering, in the list of Exceptions at the bottom.
To delete an exception, simply click on the trash can icon located to the right of it.