This guide will show you how to install NETGEAR VPN for iOS, ensuring increased online privacy for your iPhone and iPad.
- System Requirements: iOS 13 or later
1. Open the  App Store app on your iPhone or iPad.
2. Search for NETGEAR VPN in App Store.
- You can also follow this link to find NETGEAR VPN.
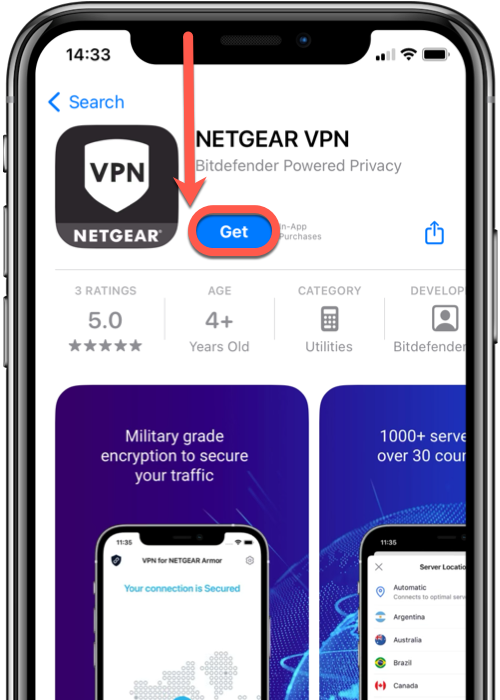
3. On the app’s page, tap the Get button. The app will start downloading and installing.
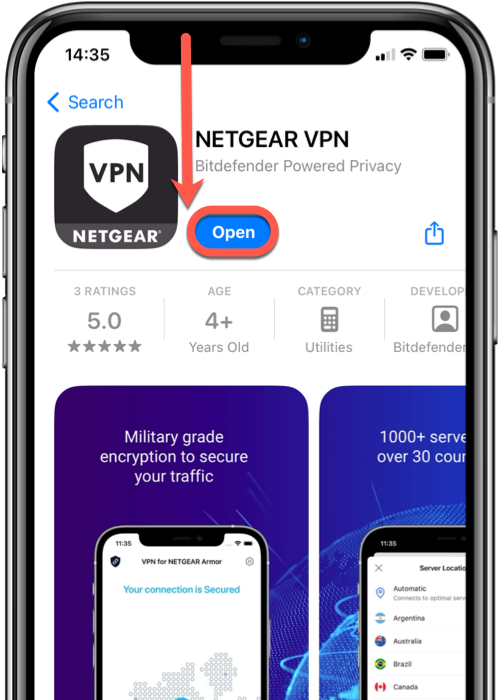
4. Once the installation is complete, you’ll see an Open button. Tap on it to launch the NETGEAR VPN app.
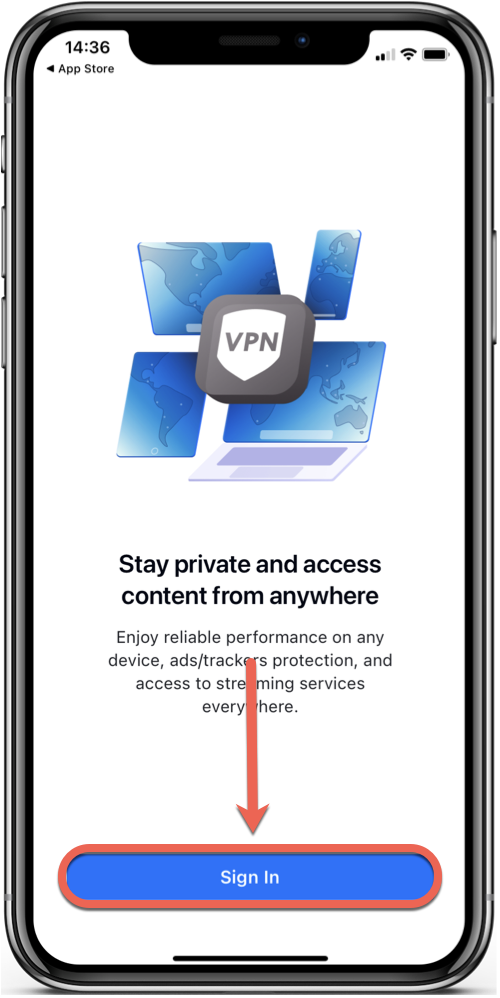
5. When you open the app for the first time, you’ll need to sign in to your NETGEAR Armor account.
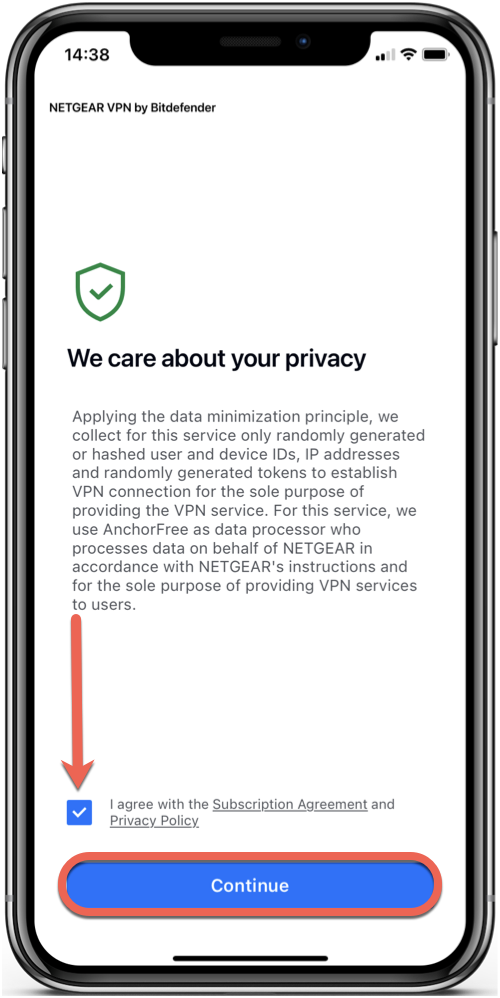
6. Check the small box and tap Continue after you read and agree with the subscription agreement & privacy policy.
7. Sign in with the NETGEAR account you used to activate NETGEAR Armor on your router.
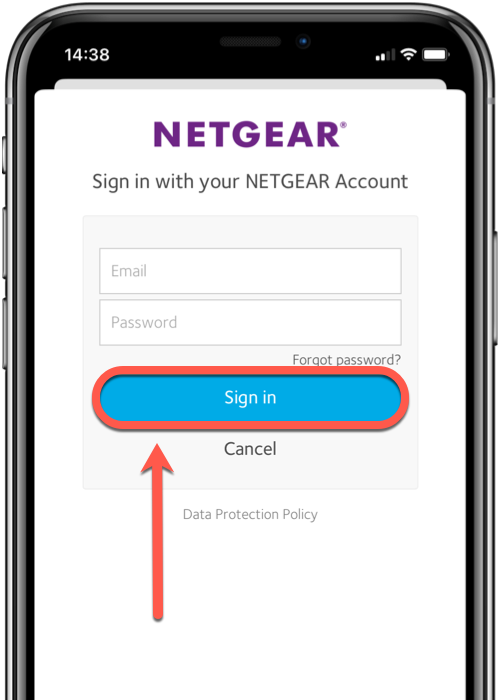
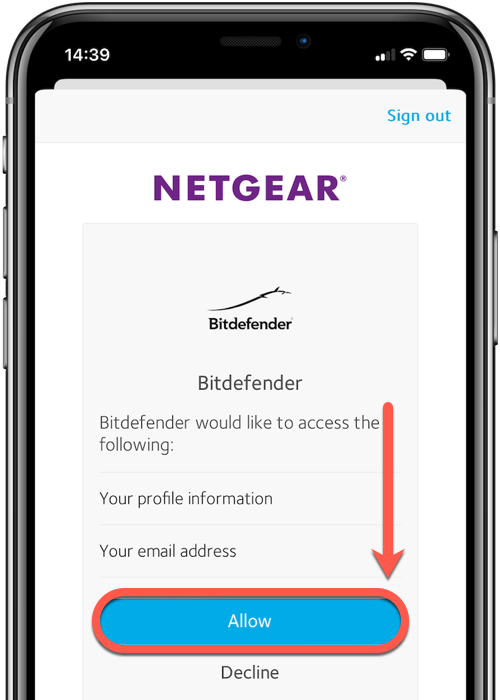
8. Tap Allow to give Bitdefender access to your profile information (needed for NETGEAR Armor).
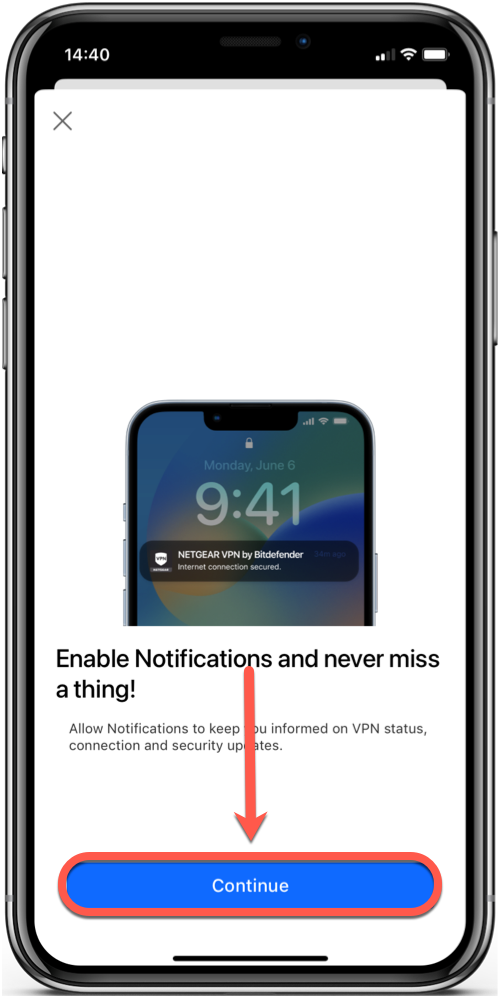
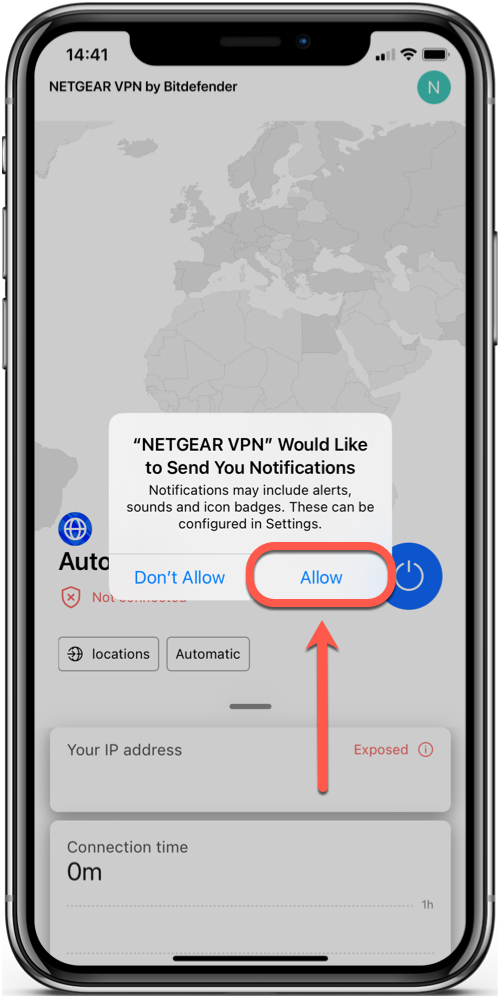
9. Tap Continue, then Allow notifications to keep you informed on VPN status, connection and security updates.
That’s it! NETGEAR VPN for iOS is now installed and ready to be used on your iPhone or iPad.