This guide outlines the steps necessary to uninstall NETGEAR Armor on macOS. Regardless of the version of macOS and your computer skills, you will find the uninstallation process intuitive and easy to follow.
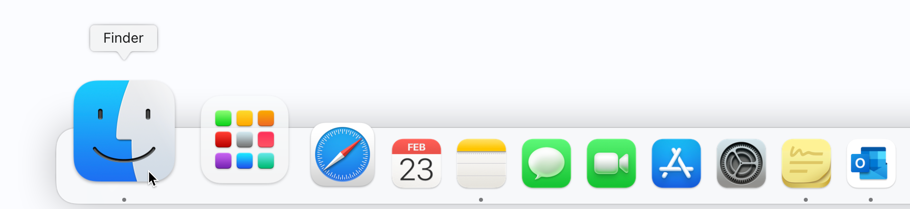
1. First click on an empty area of your desktop or click the Finder icon  in the Dock. Finder is the icon that looks like a blue square with a smiley face.
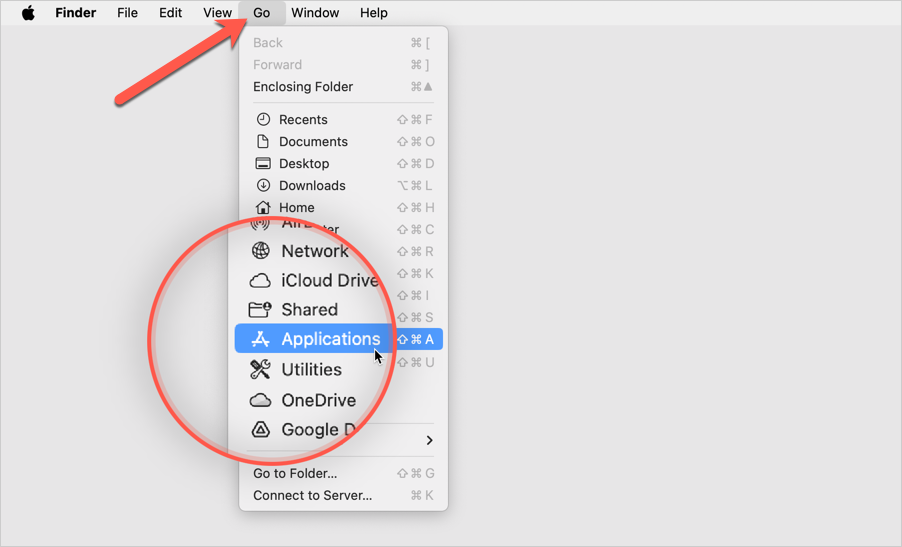
2. After that, click on Go at the top left of the screen and select Applications in the menu.
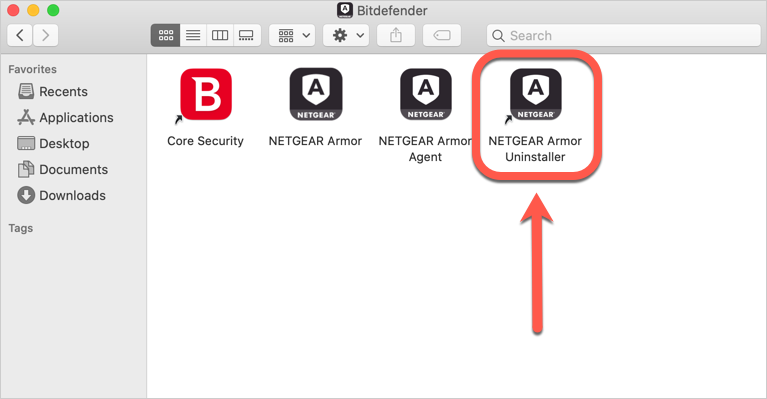
3. In the Applications window, you will see a Bitdefender folder, as illustrated below. Double-click the Bitdefender folder to open it.

4. In the Bitdefender folder, double-click on NETGEAR Armor Uninstaller.
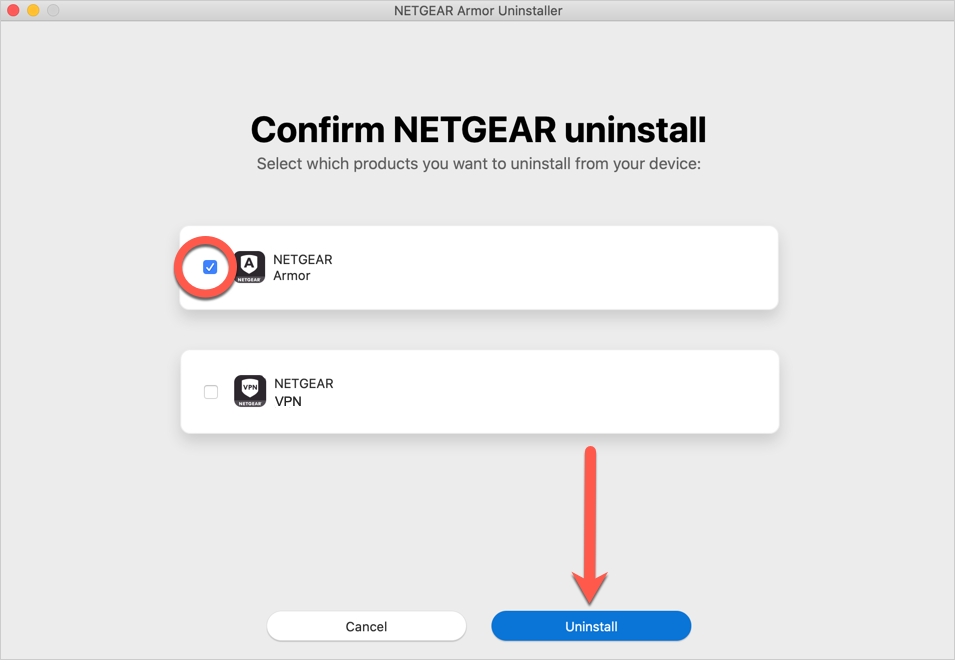
5. Select the NETGEAR Armor box in the new window, and then click the Uninstall button.
ⓘ Note: To uninstall NETGEAR VPN as well, select both checkboxes.
6. Enter your Mac administrator name and password when prompted, to allow the uninstallation.
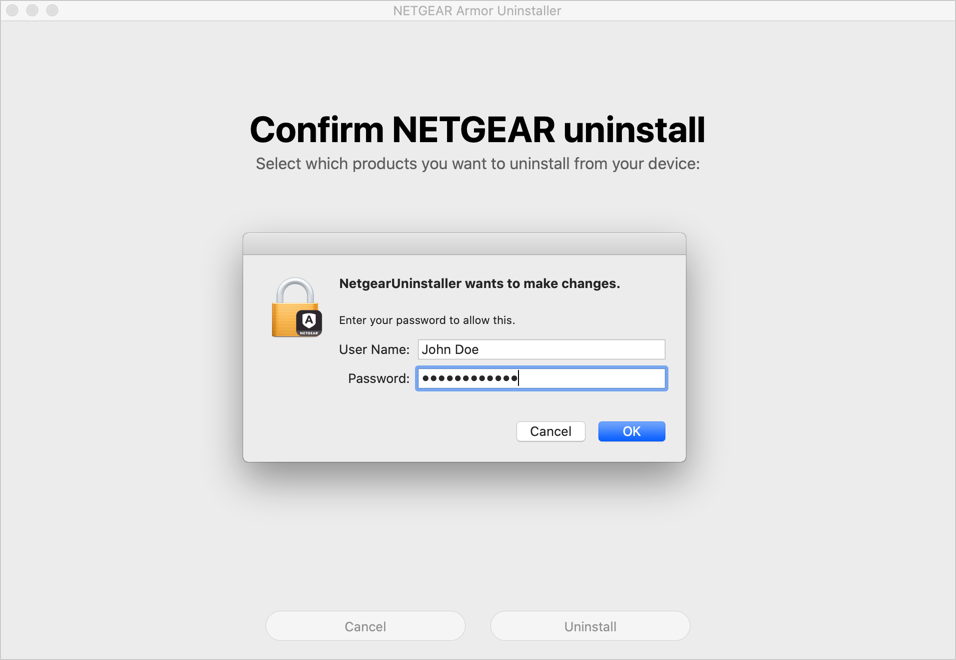
ⓘ Note: If the uninstaller encounters errors and you are unable to delete the app, follow the steps in this guide – Can’t Uninstall NETGEAR Armor.
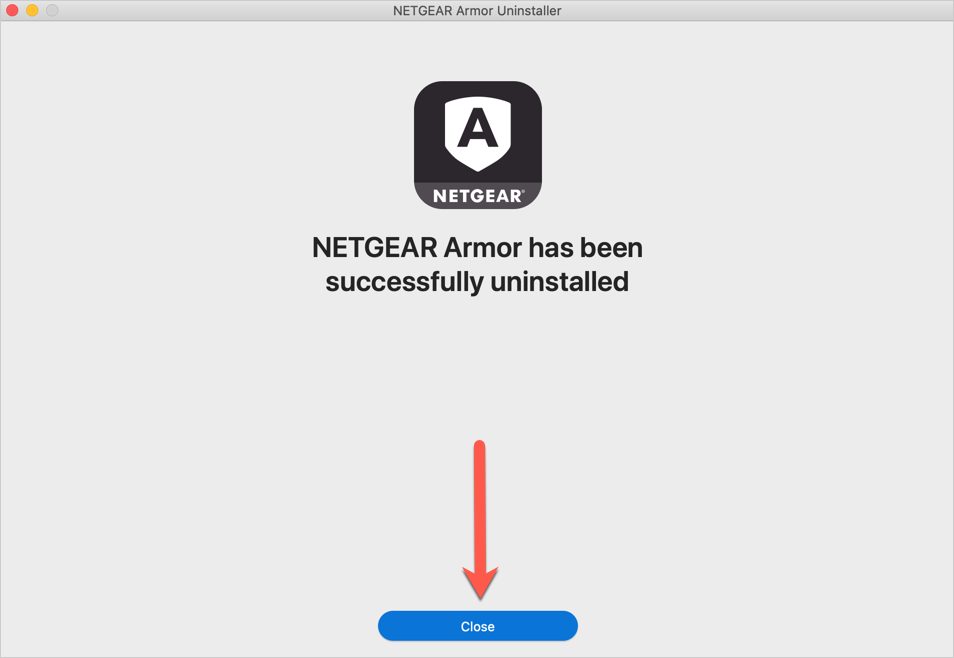
7. Wait for the uninstall process to finish, then click on Close. NETGEAR Armor has now been successfully removed from your Mac.
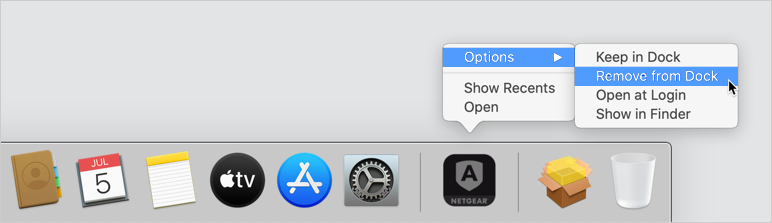
If the NETGEAR icon is still in your Dock after you uninstall NETGEAR Armor on macOS, right-click on it, go to Options and then choose Remove from Dock.
If you want to reinstall the app, follow the steps in this article – Install NETGEAR Armor on macOS.