This guide will show you how to download, install and set up NETGEAR Armor by Bitdefender for iOS. Once the installation is complete, the NETGEAR Armor app will be activated.
- System Requirements: iOS 14 or later
Video tutorial
- How to Install the NETGEAR Armor App: Step-by-Step Guide
1. Open the  App Store app on your iPhone or iPad.
2. Search for NETGEAR Armor in App Store.
- You can also follow this link to find NETGEAR Armor.
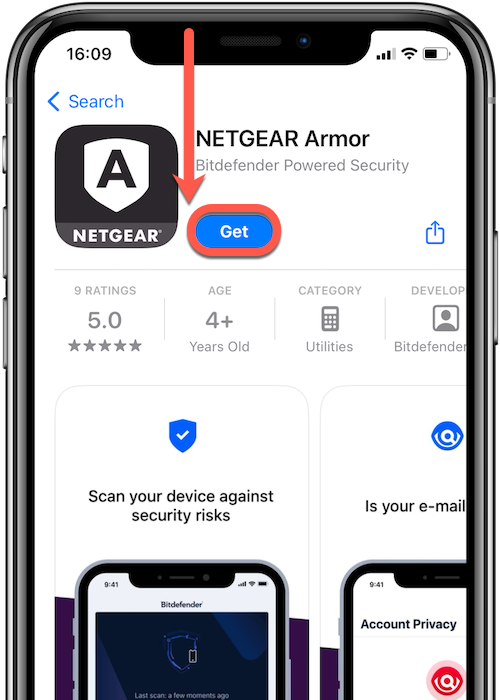
3. On the app’s page, tap the Get button. The app will start downloading.
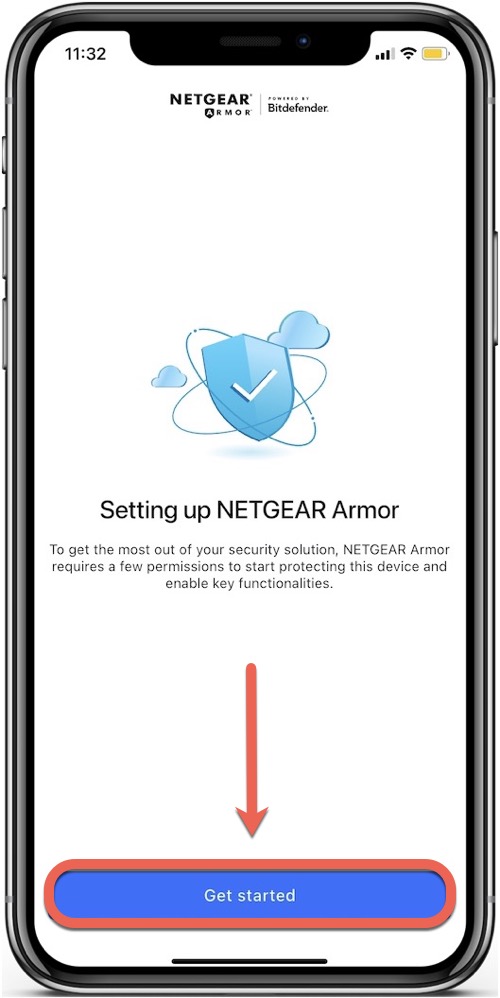
4. Once the download is complete, open the NETGEAR Armor app and tap Get started.
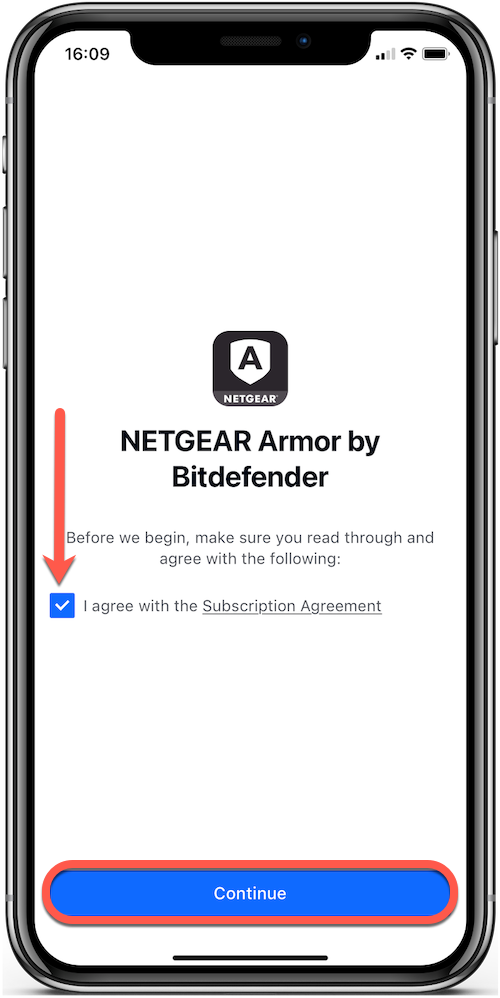
5. Check the small box and select Continue after you read and agree with the subscription agreement.
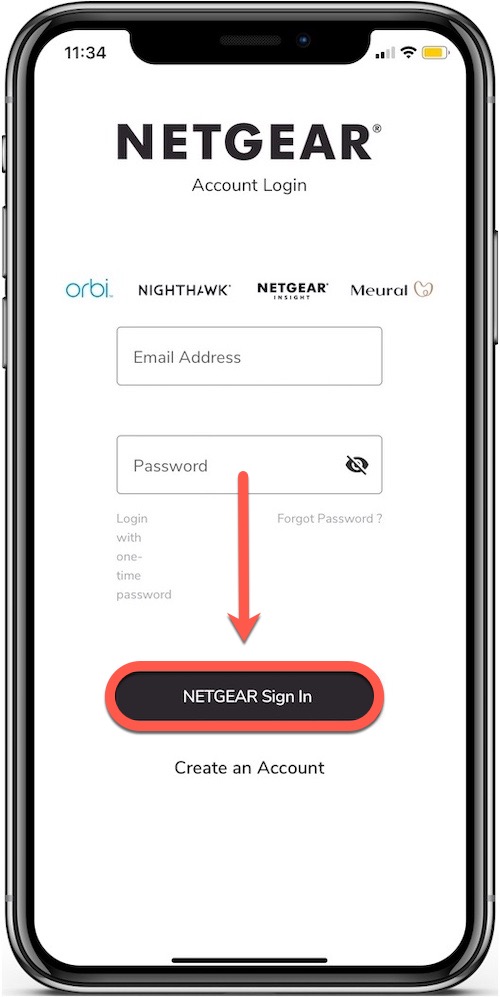
6. Sign in with your NETGEAR Armor account.
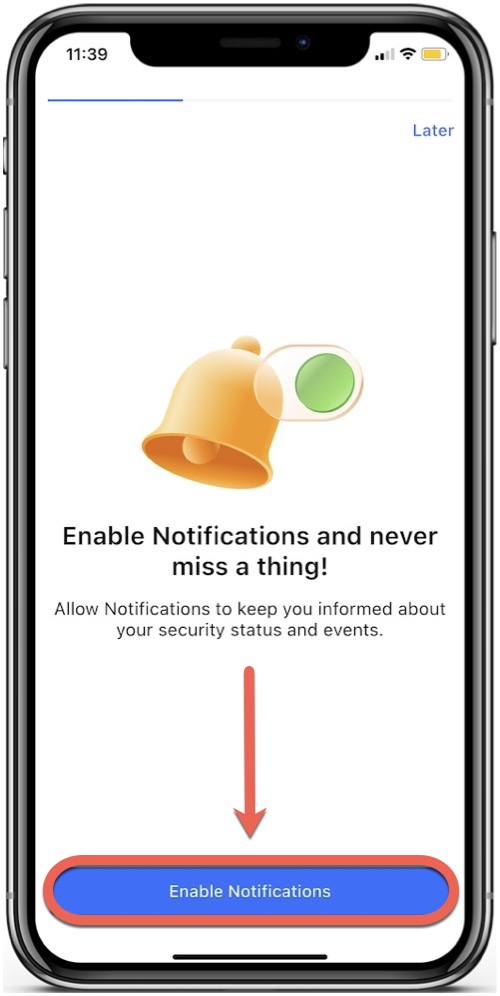
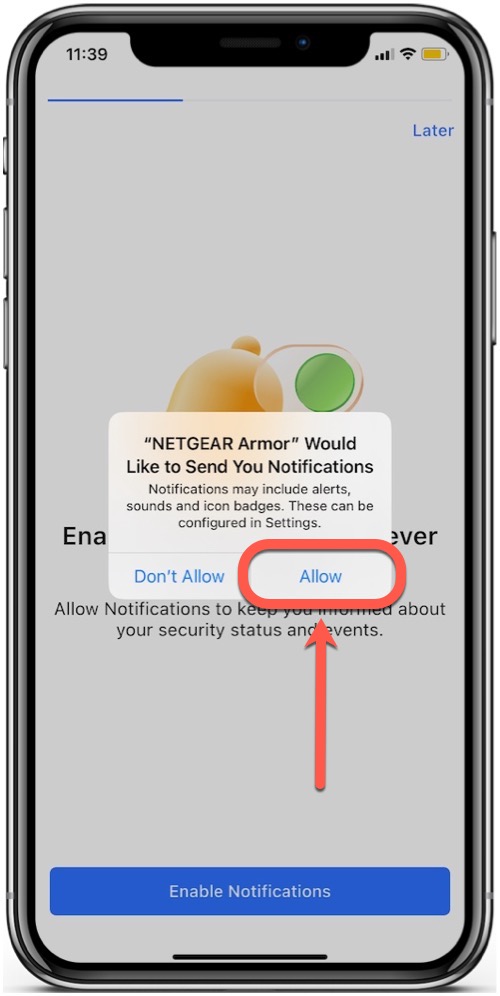
7. Tap Enable Notifications, then select Allow so you can receive alerts about your device’s security.
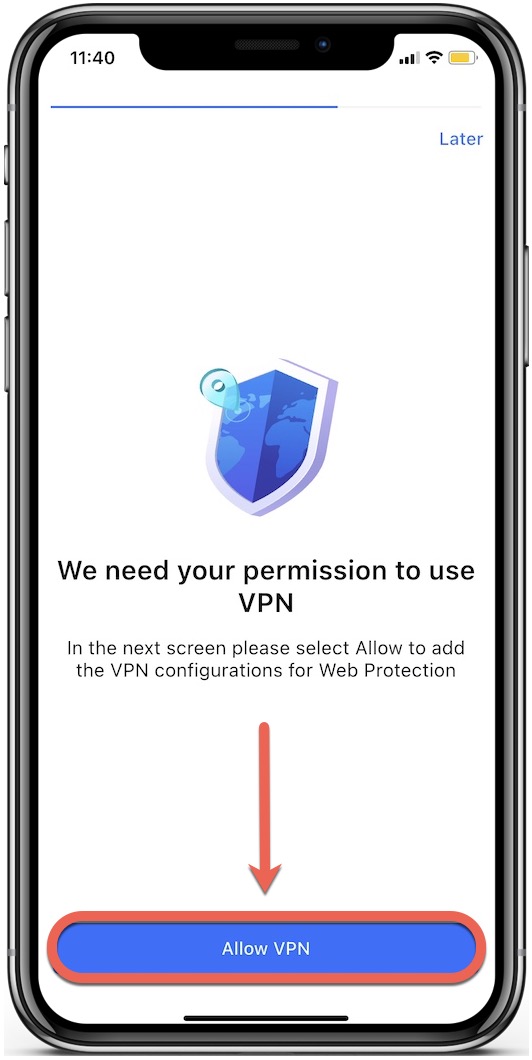
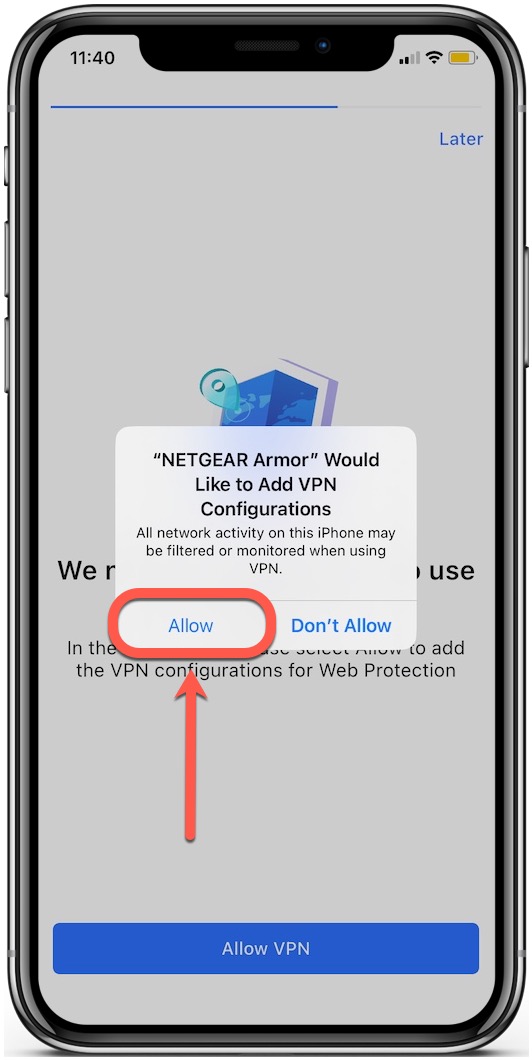
8. To finish the installation and secure your browsers, tap Allow VPN, then confirm by tapping Allow again.
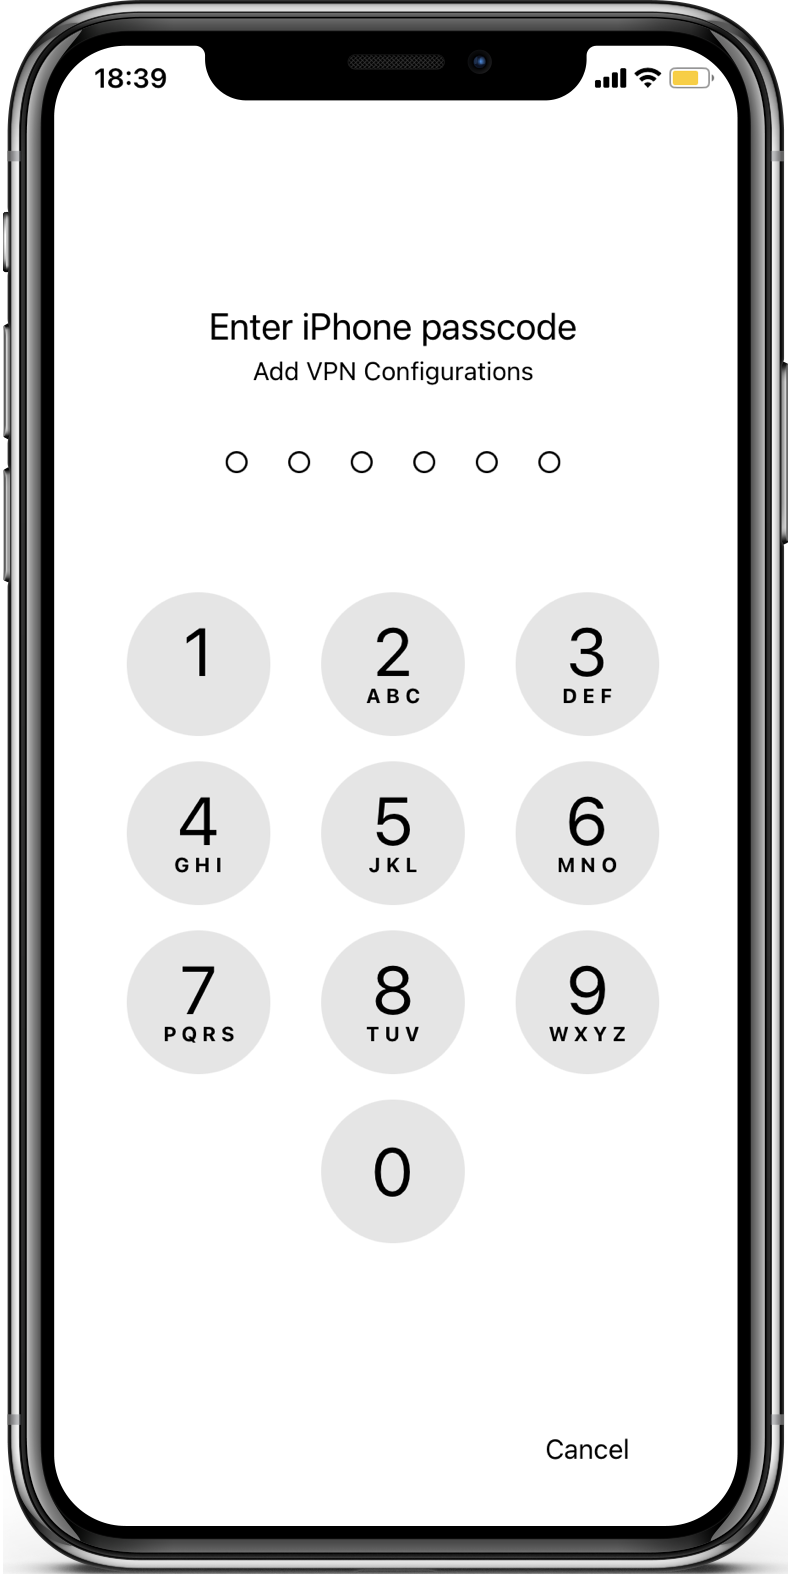
9. Enter your iPhone passcode to enable the necessary VPN settings for Web Protection to work properly.
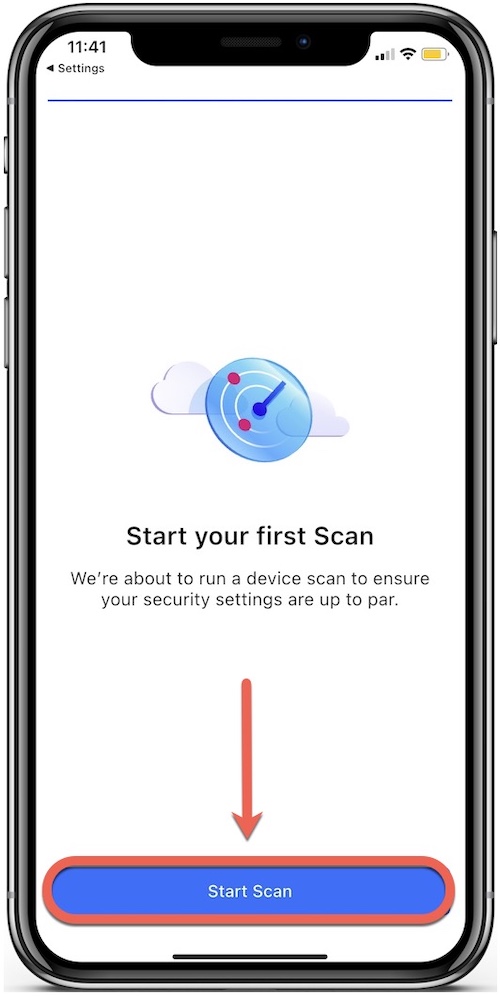
10. Tap Start Scan to check your iOS device for any security issues.
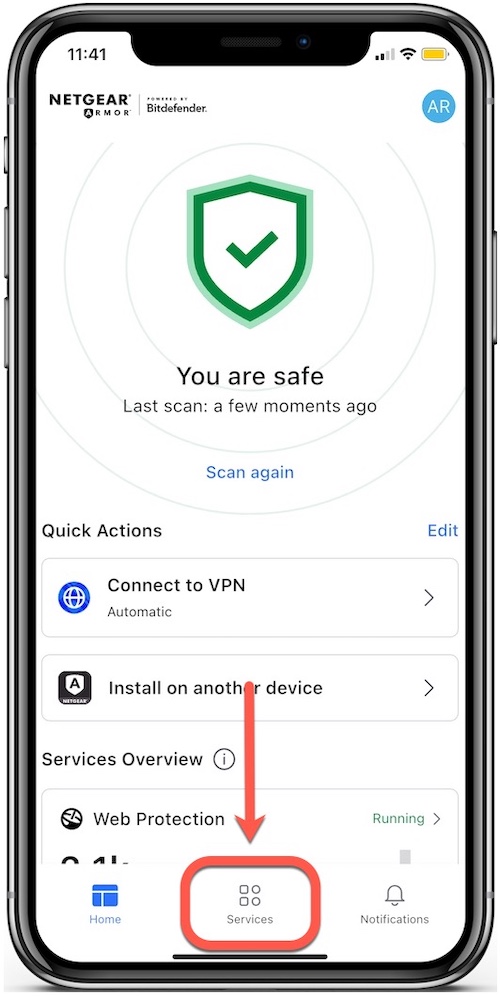
11. Once the scan finishes, check the report to see if any issues were found.
12. Then, tap Services at the bottom to set up NETGEAR Armor on your iOS device.
- Note: Available features may vary based on your subscription and app version.
Web Protection
Scam Alert
Account Privacy
Password Manager
That’s it! NETGEAR Armor for iOS is now installed and ready to protect your iPhone or iPad.