Check Disk (CHKDSK) is a built-in Windows tool that scans your hard drive for errors and fixes them to improve system performance and prevent data loss. Whether you’re experiencing slow performance, unexpected crashes, or file corruption, running CHKDSK can help identify and repair disk issues. In this easy-to-follow guide, we’ll show you how to run a disk check on any version of Windows, step-by-step.
1. Open Command Prompt as Administrator
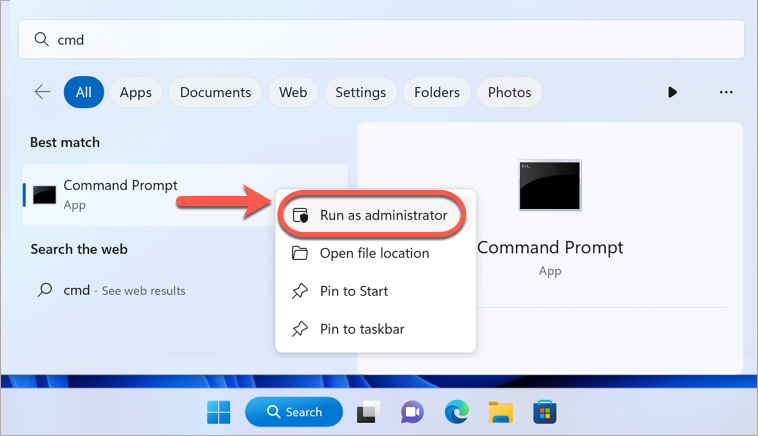
- Click the Start button (Windows logo in the bottom-left corner).
- Type cmd in the search bar.
- Right-click Command Prompt from the search results and choose Run as Administrator.
- Click Yes if prompted by User Account Control.
2. Run a Disk Check
- In the black Command Prompt window, type the following command exactly:
chkdsk c: /r
(Make sure there is a space between “chkdsk” and “c:”, and another space before “/r”.)

- Press Enter on your keyboard.
- Type Y when prompted, to allow the disk check to run the next time your computer restarts.
3. Restart Your PC
- Save any open work and restart your computer. During the restart, Windows will scan and fix your hard drive.
That’s it! Your disk has been scanned, and any errors found have been fixed.