Bitdefender fails to install on your Mac or the installation does not start? This article will help you troubleshoot common Bitdefender Antivirus for Mac installation errors. While downloading and installing Bitdefender Antivirus for Mac, you may encounter one of the following issues:
A. The installer window says The installation was successful, but
• The Bitdefender Installer (step 10 in the installation article) never appears and there is no Antivirus for Mac in your Applications folder.
• The Bitdefender Installer is stuck at Downloading, Unpacking or Installing.
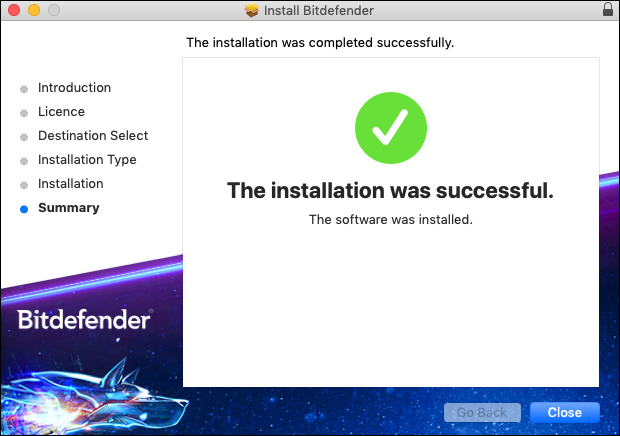
B. The installer window says The installation was successful, but then you receive a notification in the top right corner of your screen saying Install failed. Please retry installing from the site.

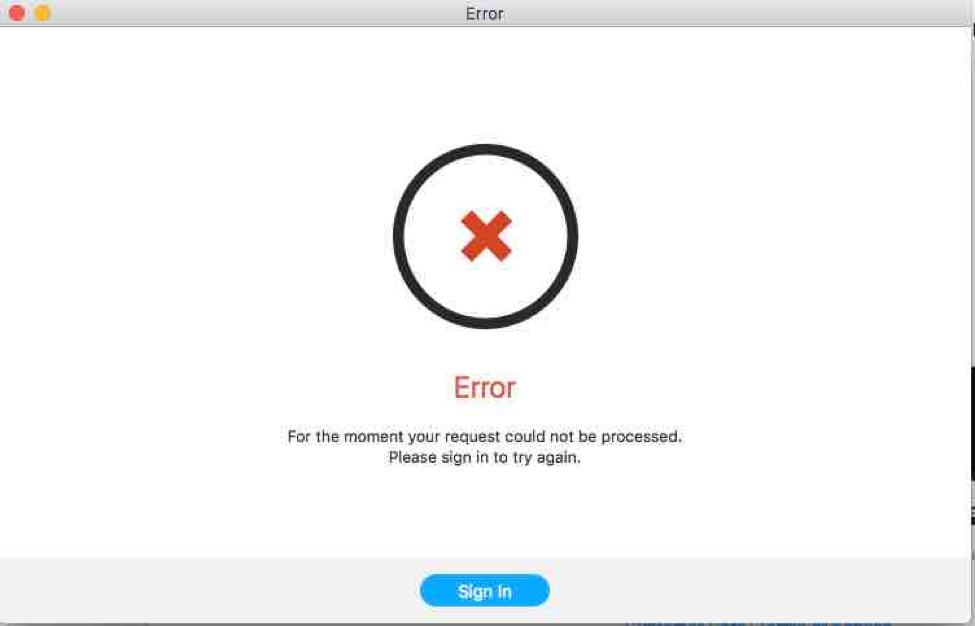
C. The installation is successful, the module is downloaded, but you’re prompted to log in with your account and you receive this message: Error. For the moment your request could not be processed. Please sign in to try again.
Troubleshoot common Bitdefender Antivirus for Mac installation errors
In all the situations above, proceed with the steps listed below.
1. Capture a screenshot displaying the error message. We will need this screenshot later, in case you open a Bitdefender ticket. You can take a screenshot by following the instructions presented in this article.
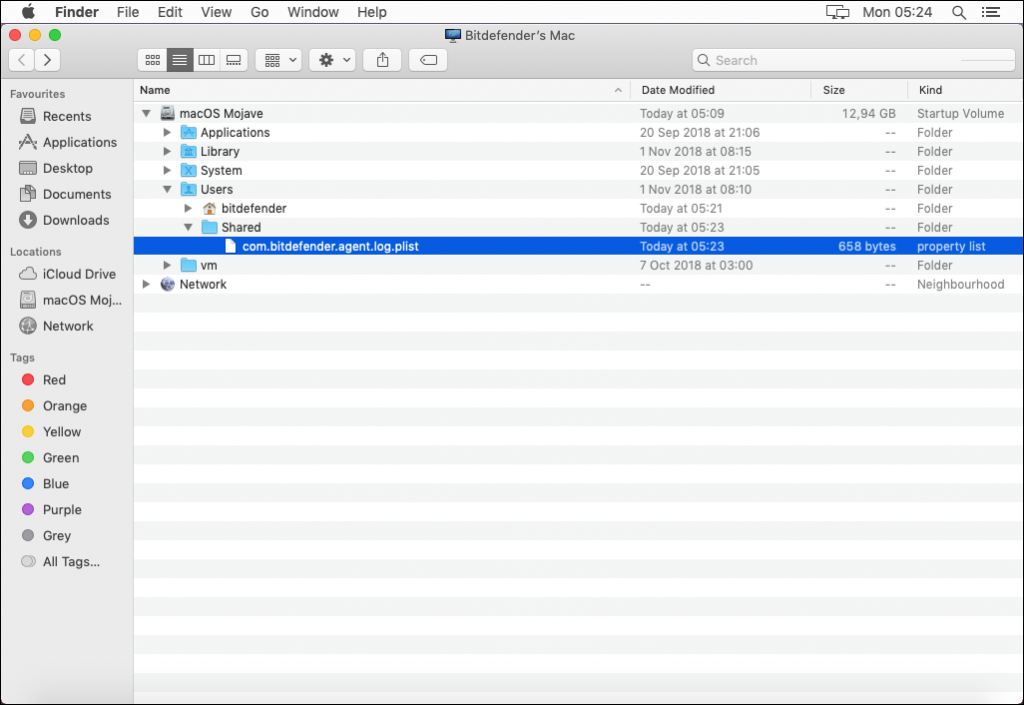
2. Download the com.bitdefender.agent.log.plist file from here and copy it to your /Users/Shared/ folder. This will generate agent logs that will help us identify the issue.
3. Restart your Mac in Safe Boot as described in this article.
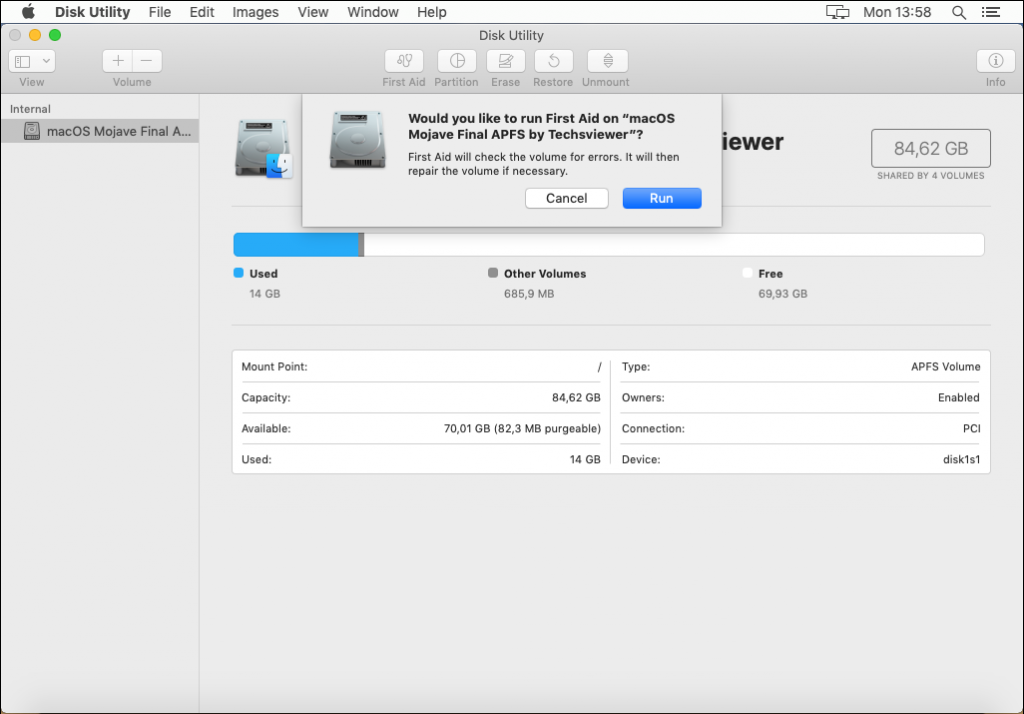
4. Use Disk Utility and run a First Aid to check your disk for errors and to repair them.
• Go to Applications > Utilities and open Disk Utility.
• Select your startup disk (Macintosh HD) and click on First Aid
5. Go to the Applications folder and open the Bitdefender folder, then double click on the BitdefenderUninstaller file to uninstall Antivirus for Mac. You can find more details in this article.
6. Restart your Mac in normal mode and make sure you have a stable internet connection. The most common cause for the three issues described at the beginning of this article is a slow or unstable internet connection. If you use WiFi, make sure you have a good signal or switch to a wired connection.
Disable proxy settings & Mac Firewall, by following these steps:
• Open System Preferences
• Go to Network and select your active connection
• Click on Advanced and select the Proxies tab
• At “Select a protocol to configure” section, clear all the checkboxes
• Select the DNS tab and use the ”+” button (situated on the left) to add the following addresses: 8.8.8.8 and 8.8.4.4
• Click on OK and then on Apply
• Go back to System Preferences and open Security & Privacy
• Go to the Firewall tab: if it’s enabled, click on the Lock (in the bottom-left corner), insert your administrator password and then select “Turn off Firewall”.
Disable any 3rd party Firewall applications or network monitoring applications (such as Little Snitch).
NOTE: Once you successfully install Bitdefender Antivirus for Mac, you may re-enable the Firewall and other applications. Just make sure you allow all the Bitdefender connections.
7. Try again to install Bitdefender Antivirus for Mac. Check the installation article for more details.
8. If the issue persists, open a Bitdefender ticket or reply on the one you already opened and send/tell us the following:
• The screenshot you took on step 1.
• If on step 7 you received another error message, capture a screenshot of that as well and send it.
• A BitdefenderProfiler_output.zip log generated with BDProfiler.tool. You can see how to do that in this article – How to generate a BDProfiler log.
• More details about your internet connection and about 3rd party Firewall applications you might have installed (see step 6.)
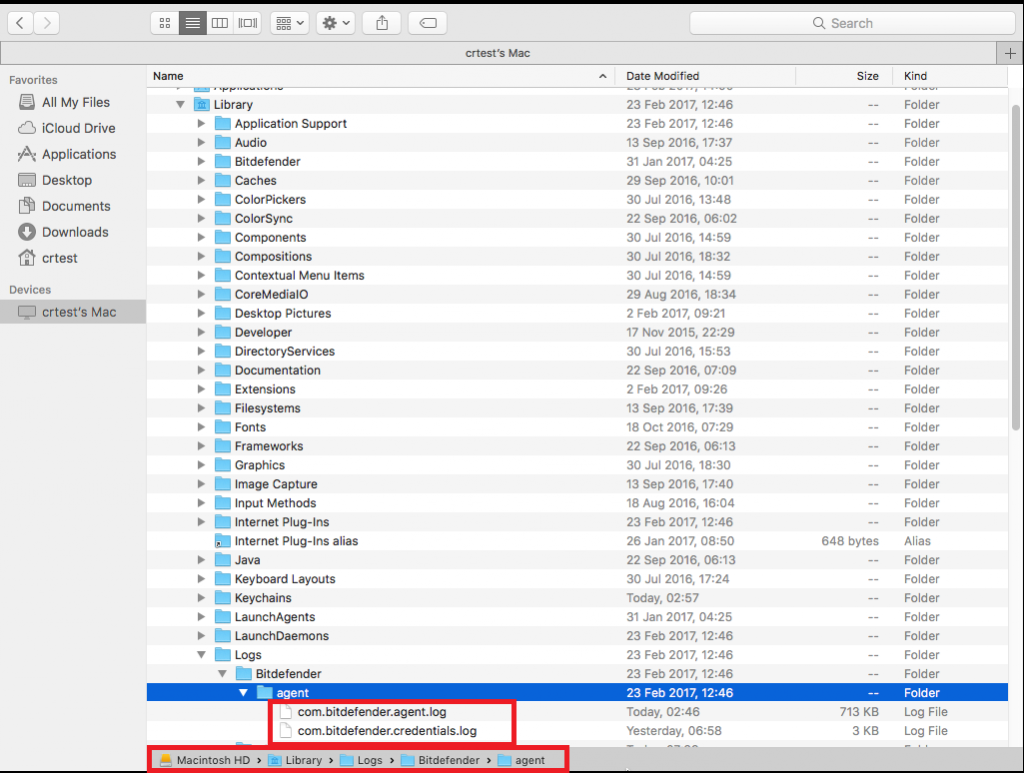
• The com.bitdefender.agent.log and com.bitdefender.credentials.log files from /Library/Logs/Bitdefender/agent
