If you’re using Bitdefender on a Windows computer and want to scan specific files or folders, or drives, you can create and schedule a custom scan. This allows you to tailor the scan to your preferences, ensuring only the areas you choose are checked.
- Important: The scheduled scan feature is available only on Windows. If you’re using another operating system, this option will not be available.
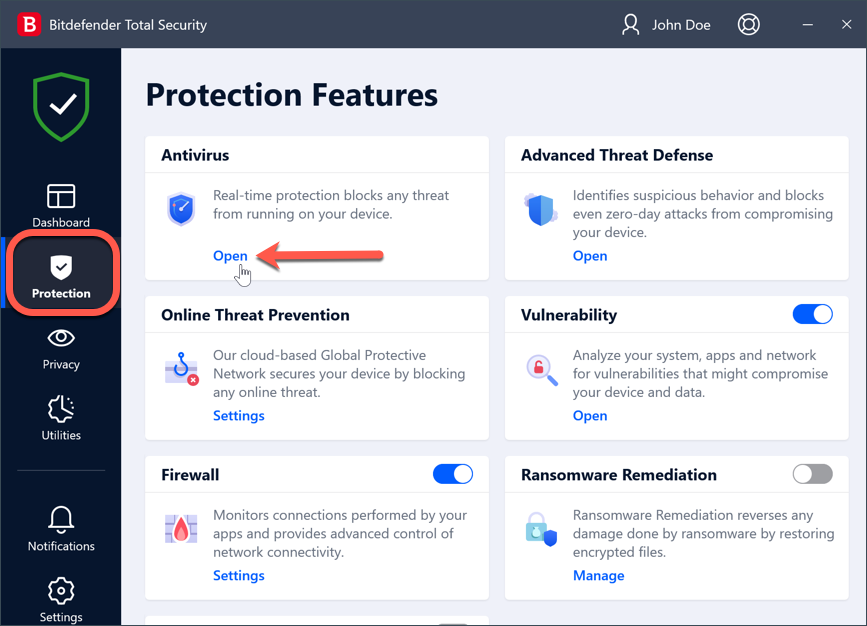
1. Select Protection on the left-hand side of the Bitdefender interface.
2. In the Antivirus pane, click Open.
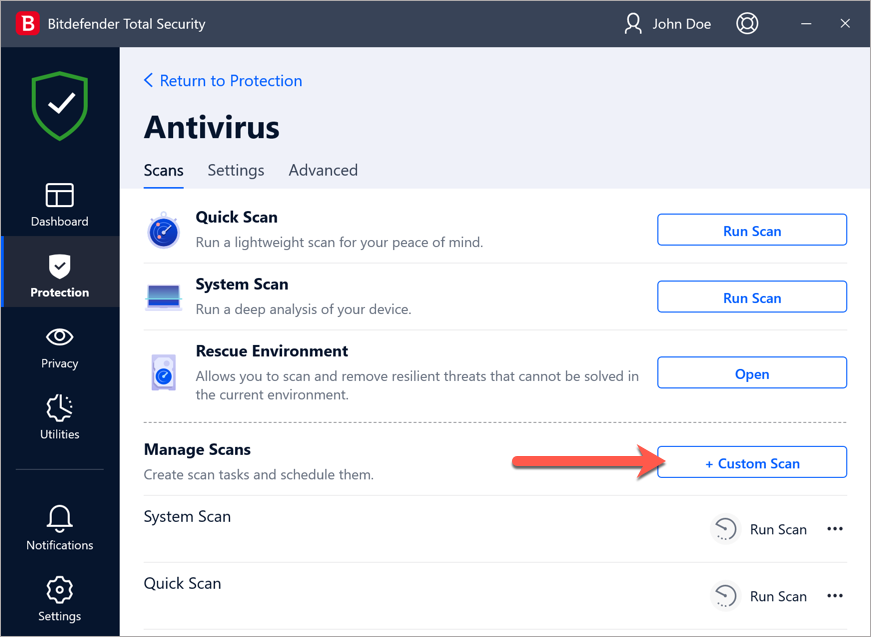
3. In the Scans tab, click on the + Custom Scan button.
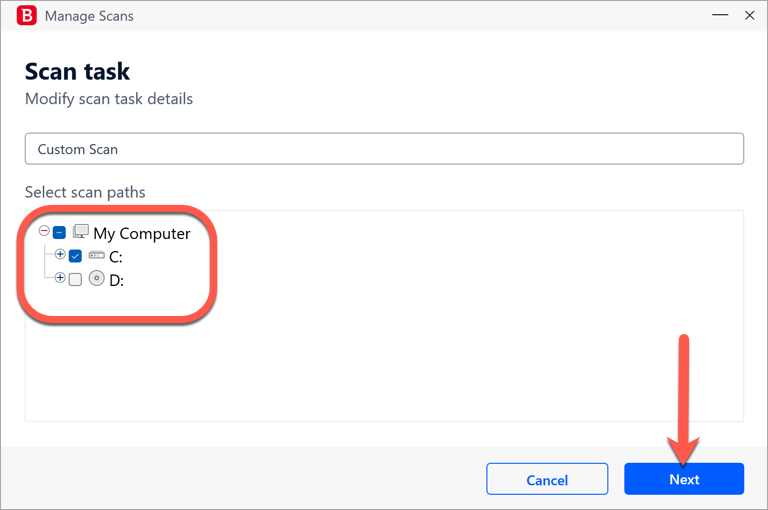
4. In the Scan task window, enter a name for your custom scan, select the locations you want to scan, and then click Next.
5. Now you have the option to change these general scanning options:
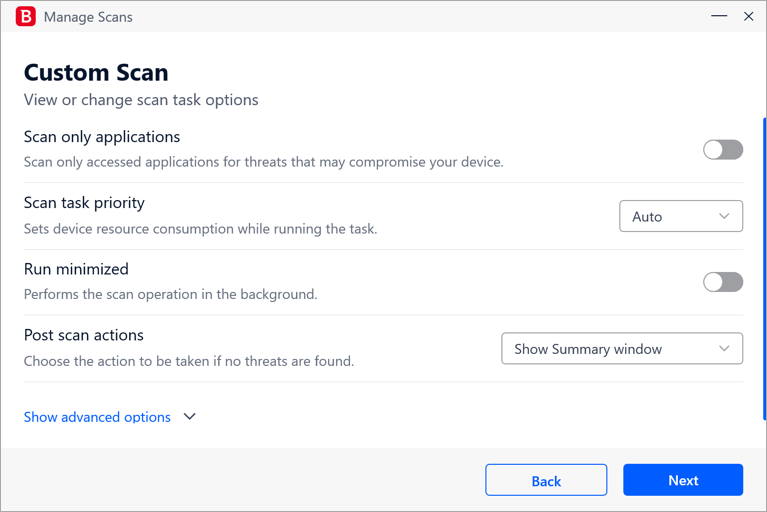
Scan only applications. You can set Bitdefender to scan only accessed apps.
Scan task priority. You can choose the impact a scan process should have on your system performance.
- Auto – The priority of the scan process will depend on the system activity. To make sure that the scan process will not affect the system activity, Bitdefender will decide whether the scan process should be run with high or low priority.
- High – The priority of the scan process will be high. By choosing this option, you will allow other programs to run slower and decrease the time needed for the scan process to finish.
- Low – The priority of the scan process will be low. By choosing this option, you will allow other programs to run faster and increase the time needed for the scan process to finish.
Run minimized. The scan progress will not be displayed on the screen. The scan is performed in the background.
Post scan actions. Choose what action Bitdefender should take in case no threats are found:
- Show Summary window
- Shutdown device
- Close Scan window
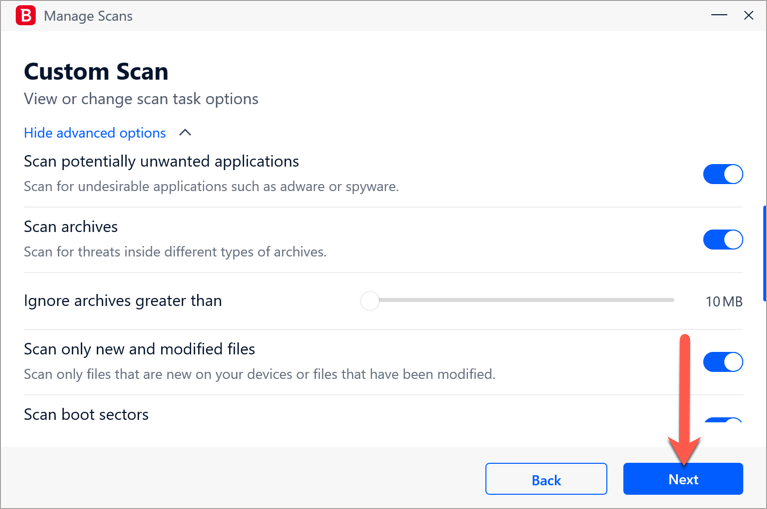
6. If you want to configure the scanning options in detail, click Show advanced options. When you are done, click Next to continue.
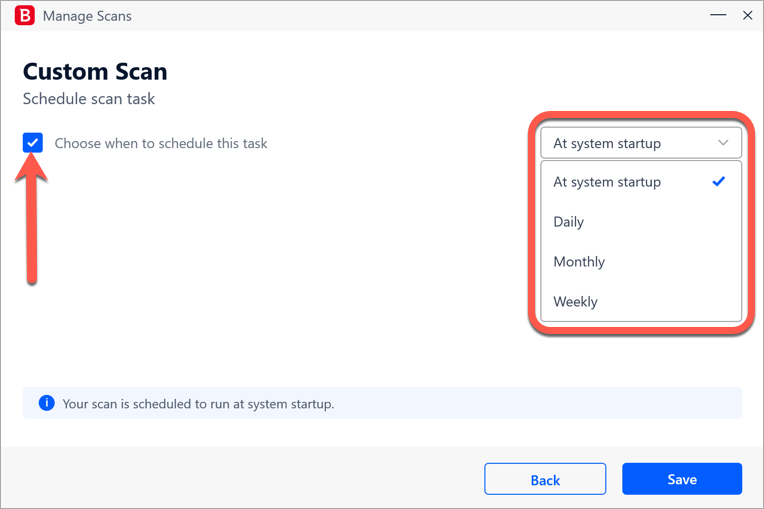
7. To schedule the scan on a routine basis, check the box Choose when to schedule this task. Then use the drop-down menu to select the frequency:
- At system startup
- Daily
- Monthly
- Weekly
ⓘ Note: If you choose Daily, Weekly or Monthly, drag the corresponding sliders to set the time when this scheduled scan should start.
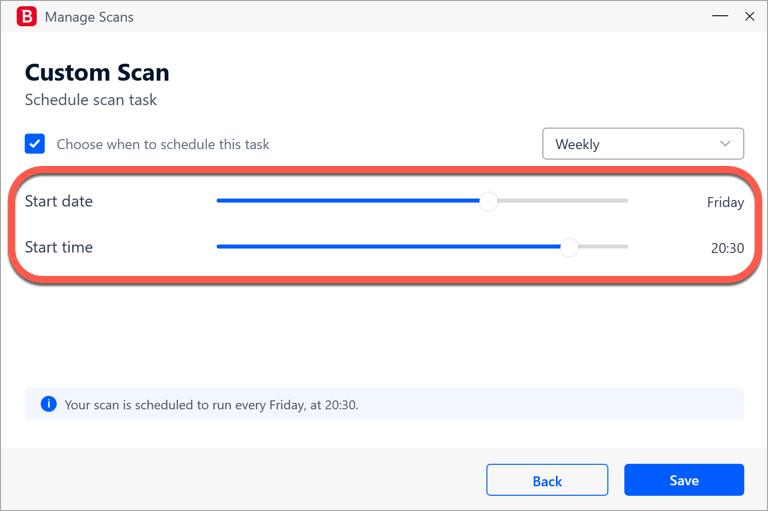
8. Click Save to create the custom scan and close the configuration window.
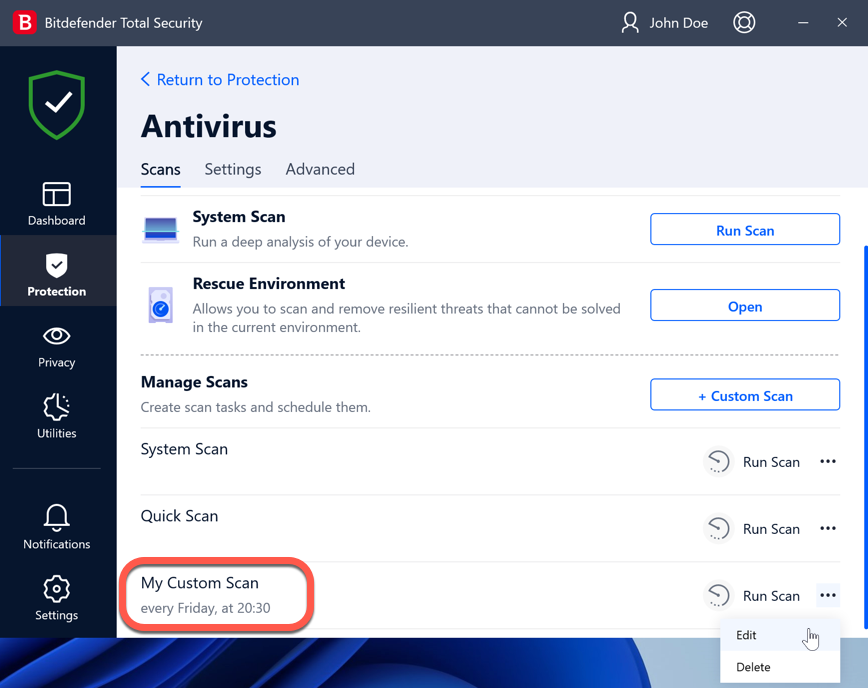
The new custom scan will appear in the Manage Scans area. From here, you can:
- Click the ellipsis ••• to edit or delete your custom scan task.
- Click the Run Scan button to start your custom scan at any time.
- Schedule a System Scan or a Quick Scan.