In this guide, we’ll walk you through the steps to activate, configure, and effectively use Bitdefender Digital Identity Protection. Bitdefender Digital Identity Protection is a web-based service that helps you monitor and manage your personal information online. It provides insights into your digital footprint, alerts you to data breaches, and checks for potential impersonation on social media platforms.
Click on a section below to view detailed steps:
Activate Bitdefender Digital Identity Protection
To activate your Bitdefender Digital Identity Protection subscription after purchase, follow these steps:
1. Check Your Email
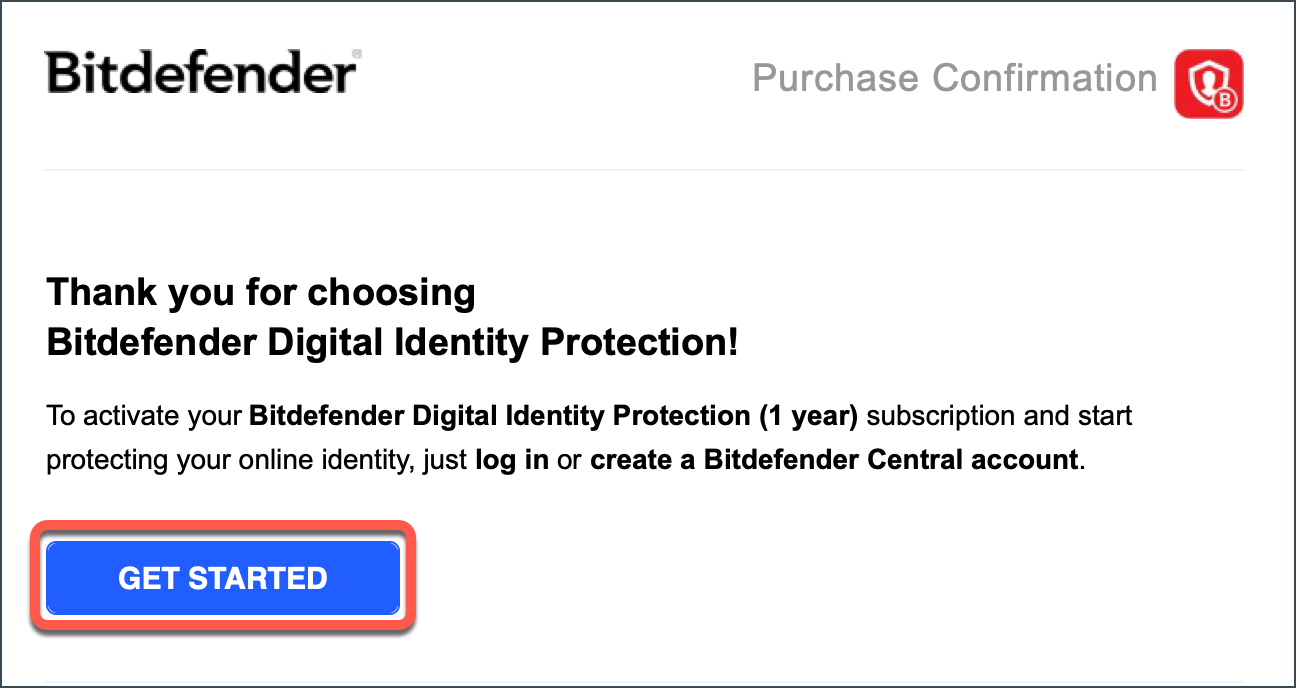
- Open the confirmation email you received after completing your order.
- Click the GET STARTED button.
- If you don’t see the email within 30 minutes, check your Spam/Junk or Promotions folder.
2. Sign in to Bitdefender Central
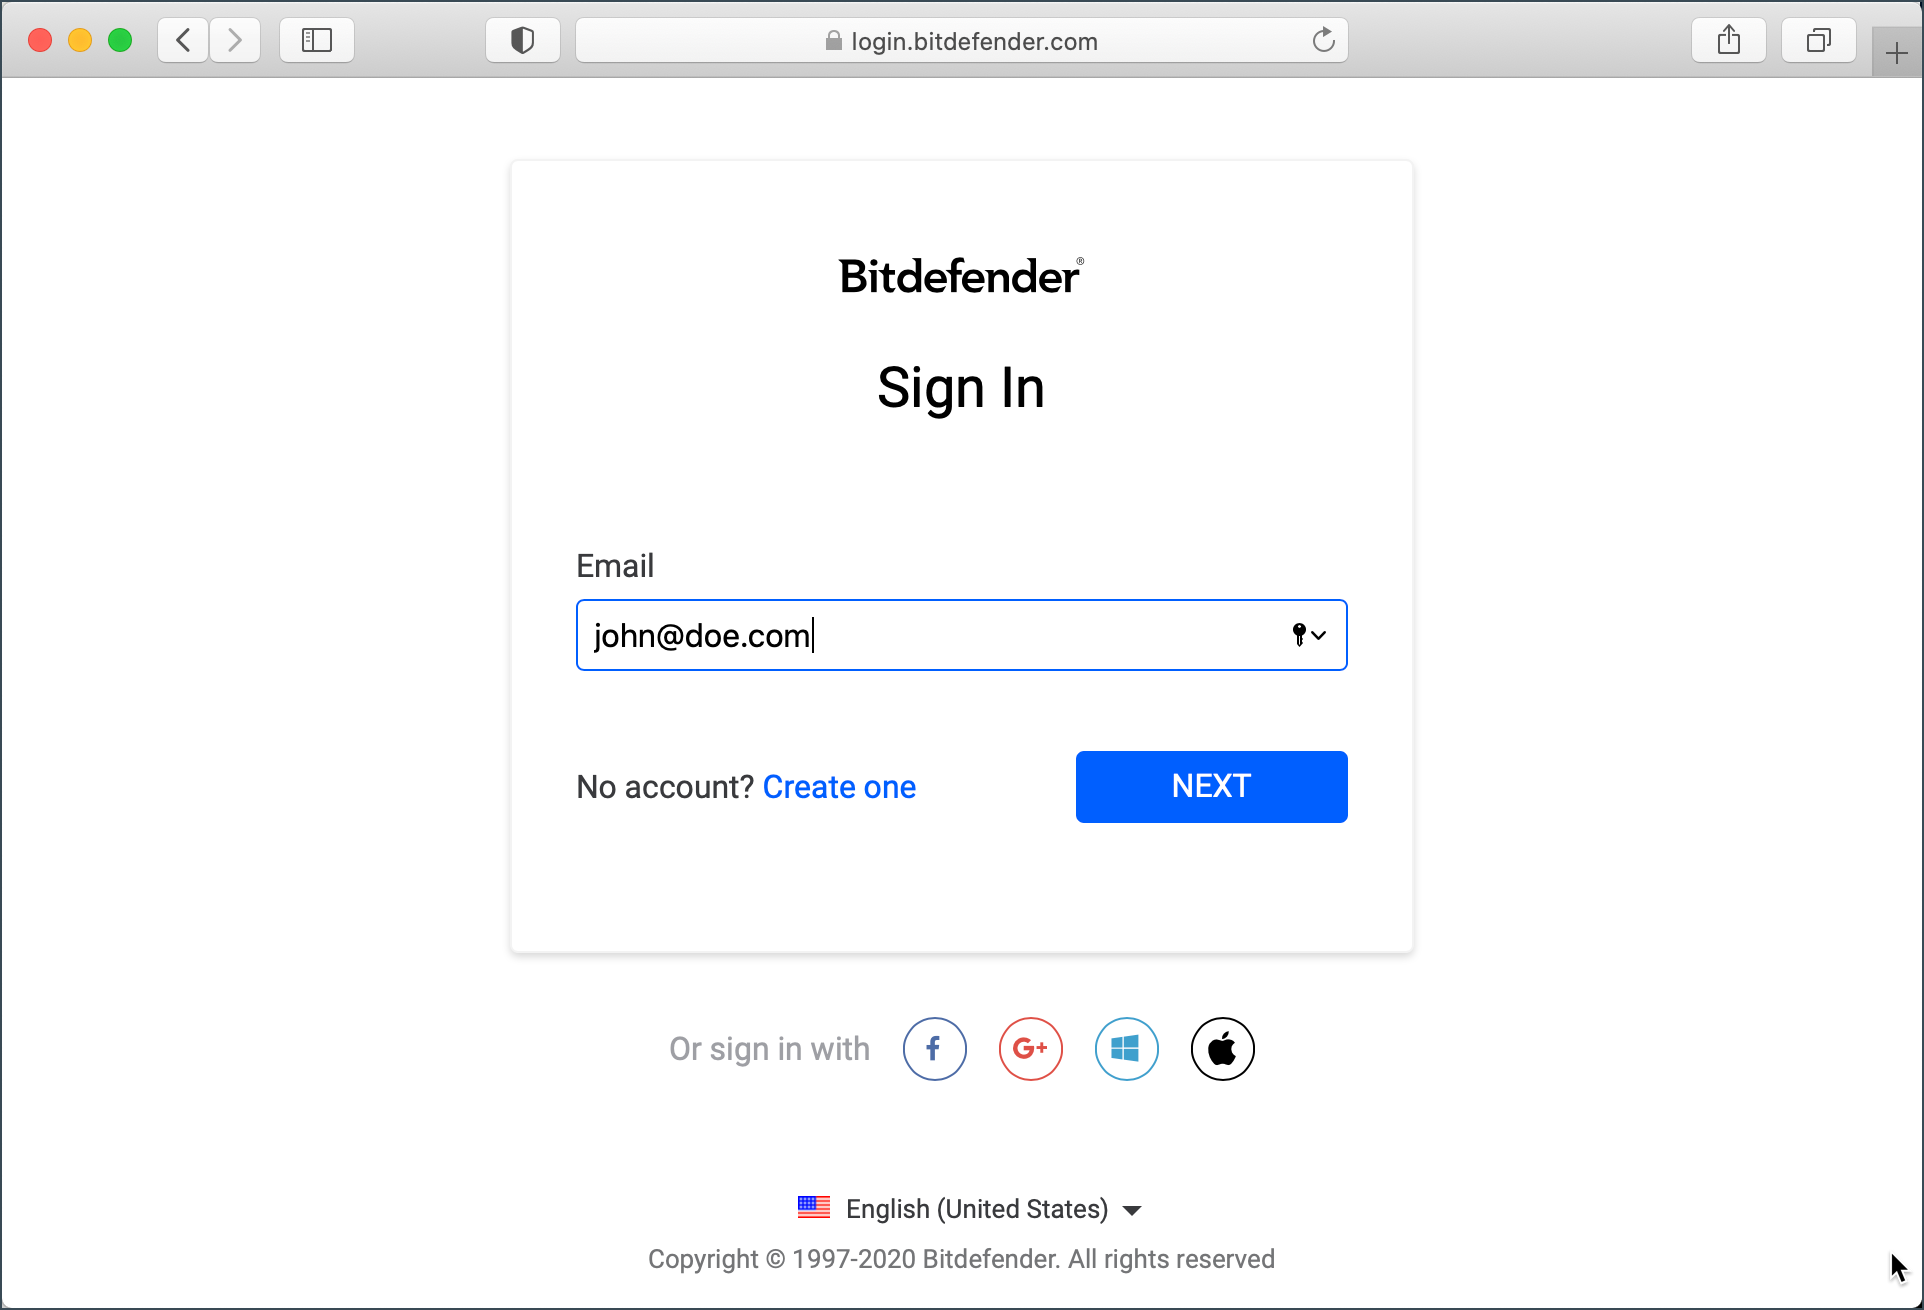
- You’ll be redirected to Bitdefender Central.
- Sign in with your existing Bitdefender account or create a new one if you don’t have a Bitdefender account.
3. Subscription Activation
- Your subscription will be automatically linked to your Bitdefender account as soon as you sign in.
- Once you activate Bitdefender Digital Identity Protection, the setup process will begin (details in the next section – How to Configure Bitdefender Digital Identity Protection).
Alternative Activation Method (Using an Activation Code)
- Locate the activation code in your purchase confirmation email.

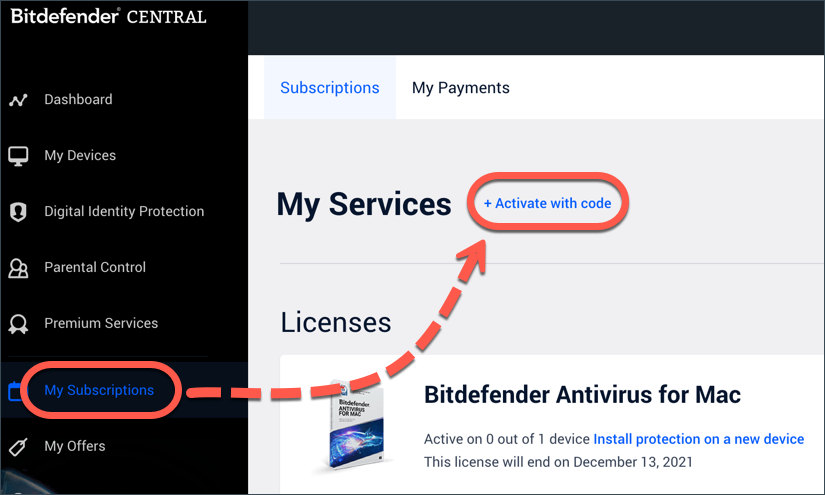
- In Bitdefender Central, go to My Subscriptions (left-side menu) and click + Activate with Code.
- Enter the 10-digit activation key and press ACTIVATE.
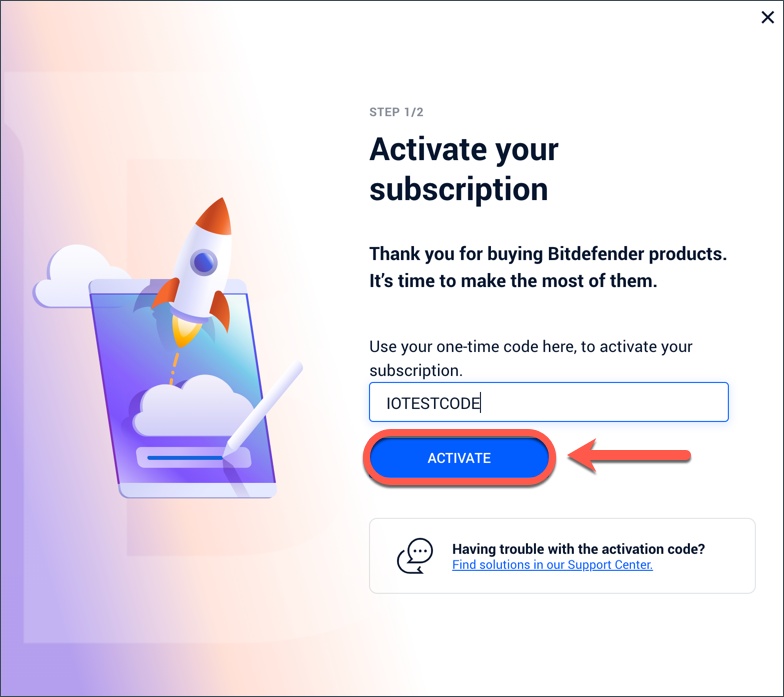
- Follow the prompts to complete activation.
Configure Bitdefender Digital Identity Protection
Once activated, configure your Bitdefender Digital Identity Protection service:
1. Begin Onboarding
- A welcome screen appears. Click on Begin to start setup.

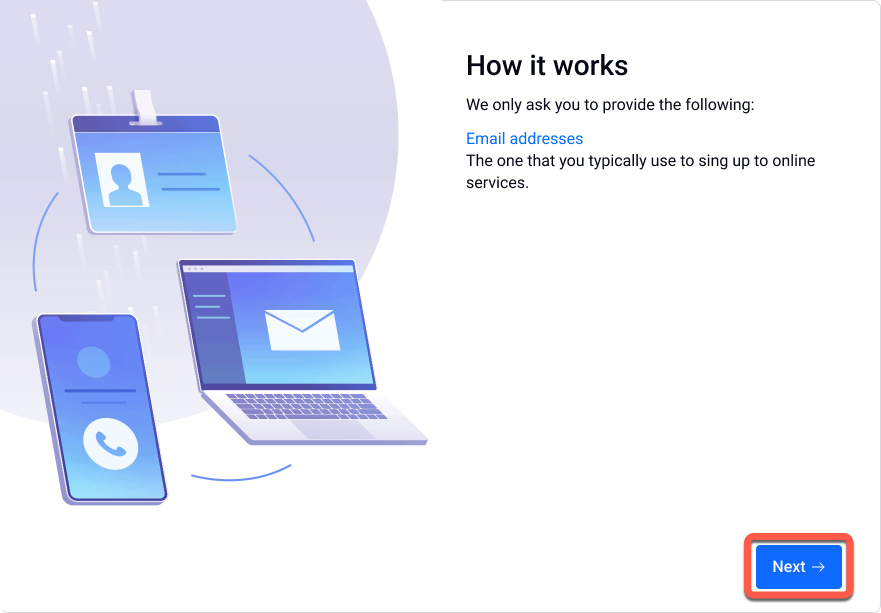
2. Enter Your Email for Monitoring
- You’ll be asked to provide the primary email you use for online accounts.
- If your Bitdefender Central email is verified, you can select it or enter a different email to be monitored.
- Click Next.
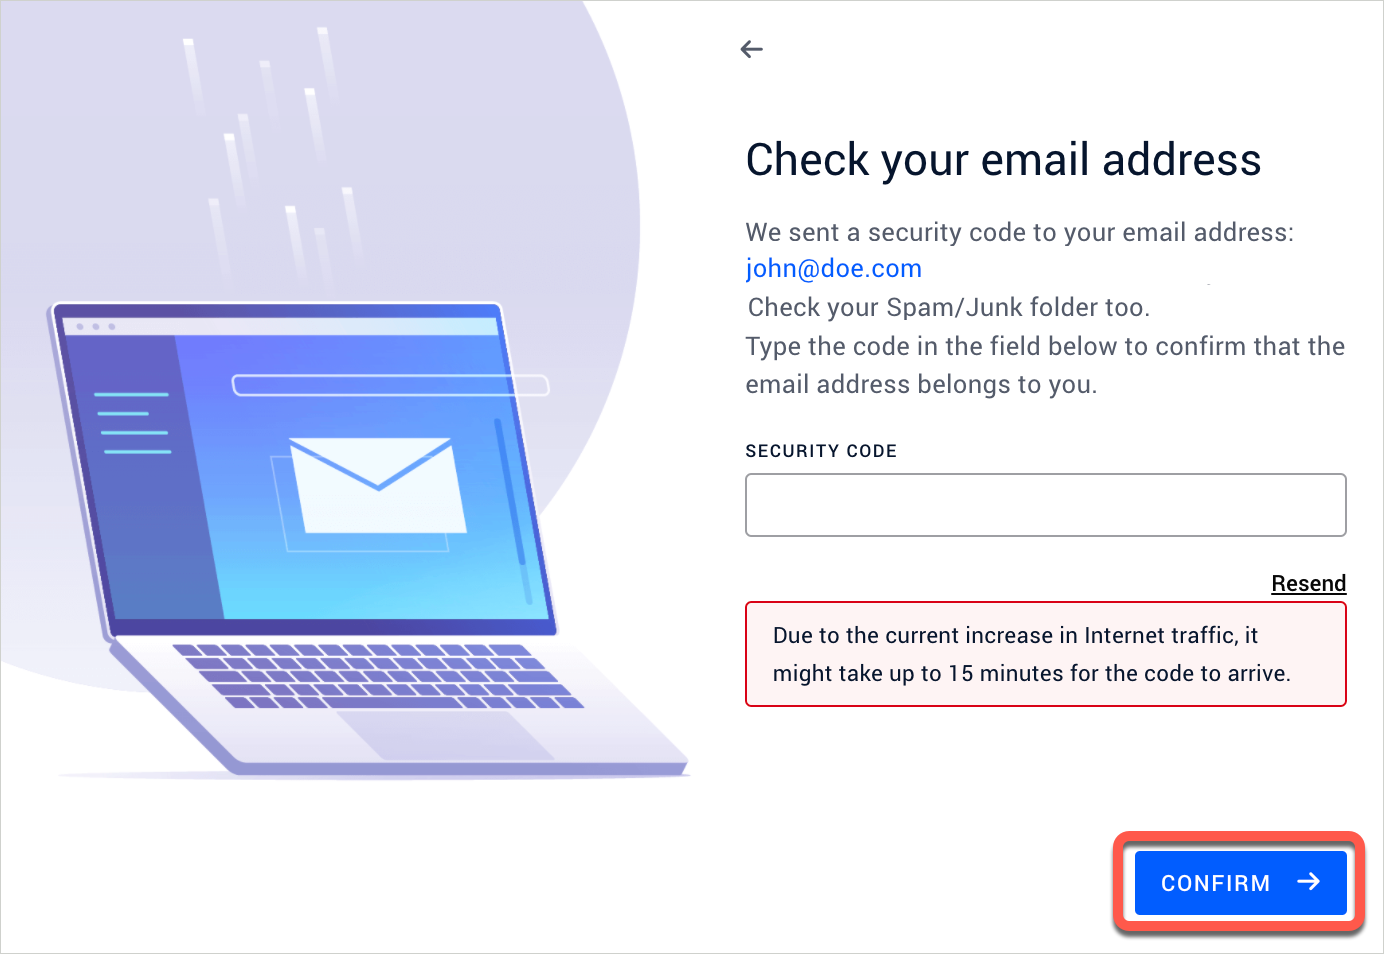
3. Verify Your Email
- A security code will be sent to the provided email.

- Enter the security code into the corresponding field from Bitdefender Central, then click Confirm.
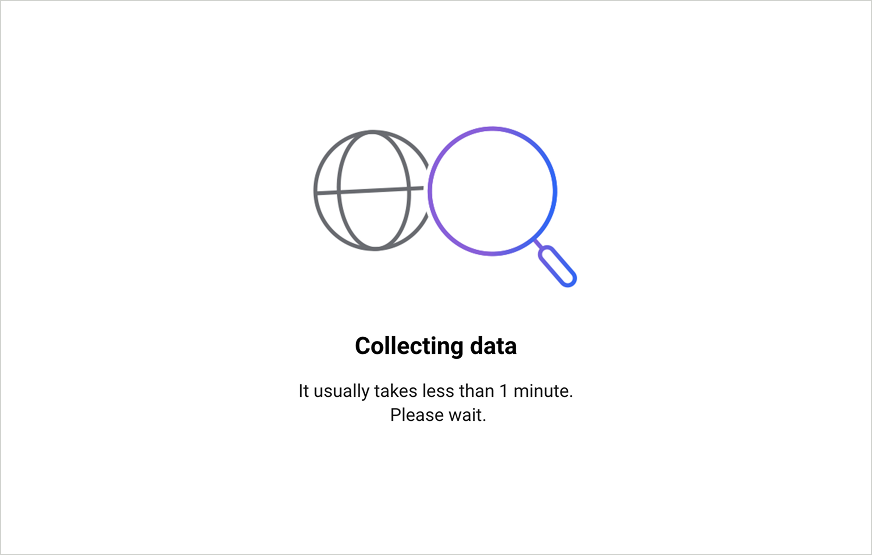
4. Wait for the Initial Scan
- Bitdefender Digital Identity Protection will check for potential data exposures.
- Once complete, you’re ready to use the service (details in the next section – How to Use Bitdefender Digital Identity Protection).
Use Bitdefender Digital Identity Protection
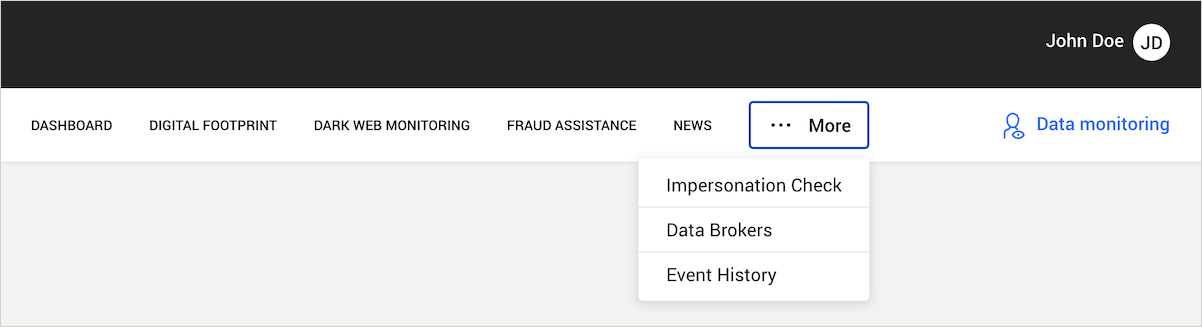
After setup, several tabs will appear at the top of the Bitdefender Digital Identity Protection page. Each one offers tools and insights to help protect your digital identity.
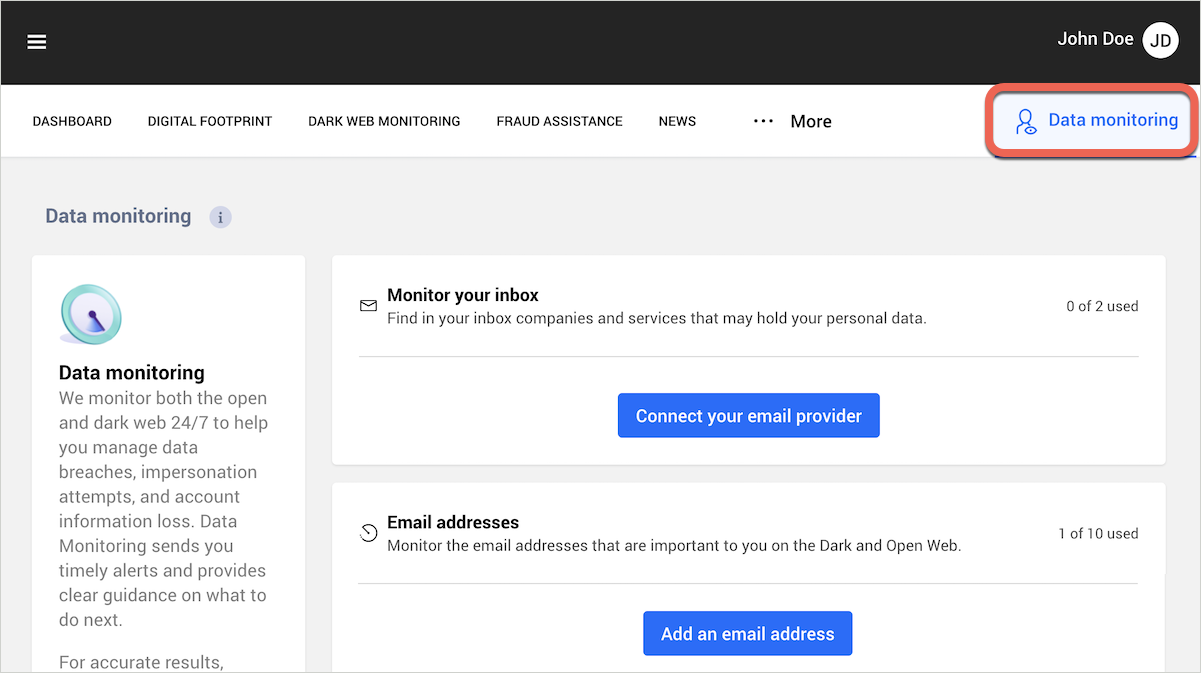
Start with Data Monitoring
To get the most accurate results, start by adding the personal data you want to monitor:
- Click Data Monitoring in the top right corner.
- Add your personal information, including:
- Email provider – connect Gmail or Outlook mailboxes to find services linked to your identity
- Email addresses
- Full name
- Phone number
Tip: If you’re not receiving the SMS verification code, check this article for help.
Explore the Tabs
Once your data is added, several tabs at the top of the page will help you monitor and protect your digital identity:
1. Dashboard
An overview of your digital identity status. Quickly assess your overall exposure and take recommended actions.
- Check this article to learn how to navigate the Bitdefender Digital Identity Protection dashboard.
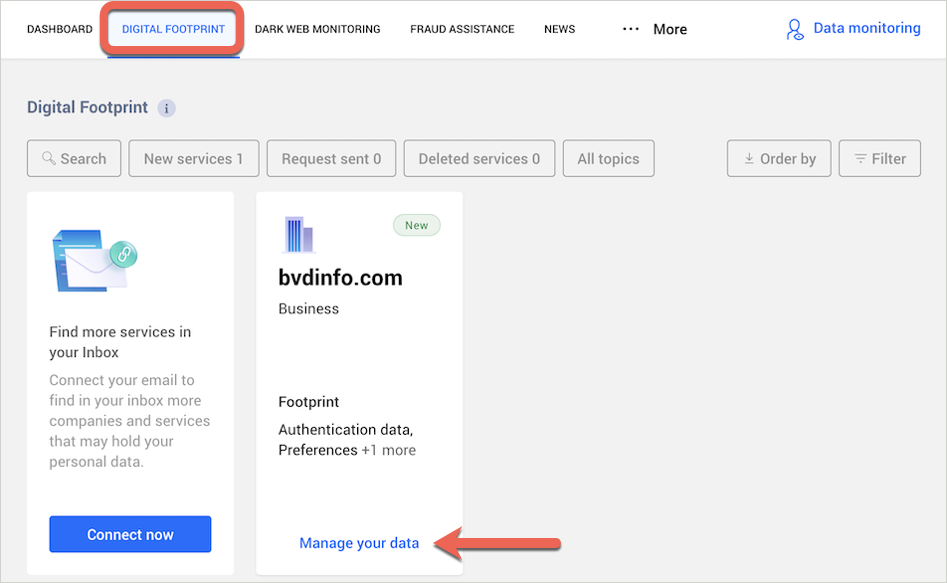
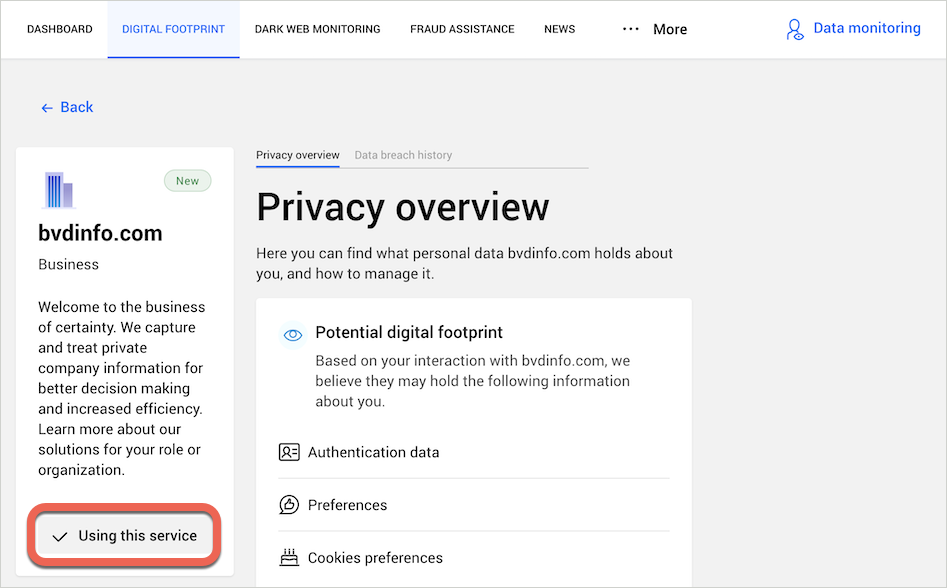
2. Digital Footprint
Your digital footprint is the trail of personal data you leave behind when using websites, apps, and online services – like your name, email, phone number or activity history. It is up to you to evaluate if having the information public on the web is a threat.
- Click the Digital Footprint tab.
- You’ll see all companies and services that may hold your personal data.
On each company name:
- Click Manage your data to open a detailed view. You’ll find an overview of the service, what type of personal data may have about you, and how to manage it.
For accounts you still use:
- If you’re still using the service, follow the recommended actions in the Manage your data panel (e.g., change your password, enable multi-factor authentication, etc.), then click Mark as done.
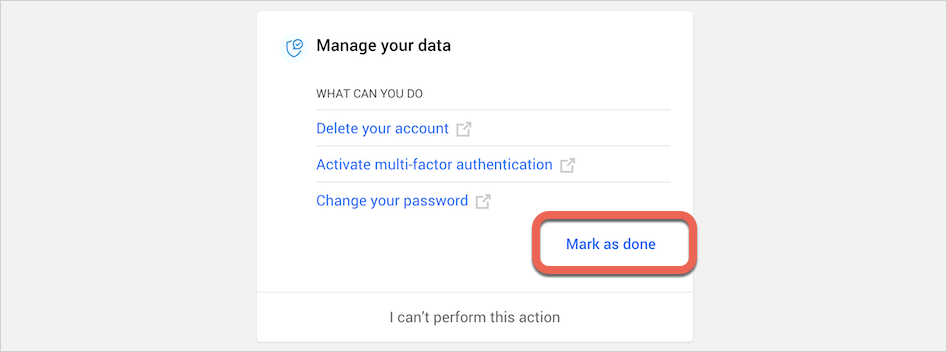
- You can optionally click the Send request button to ask the company to send you all the personal data they hold about you, using a pre-written message that can be copied into an email or contact form, if available on the company’s website.
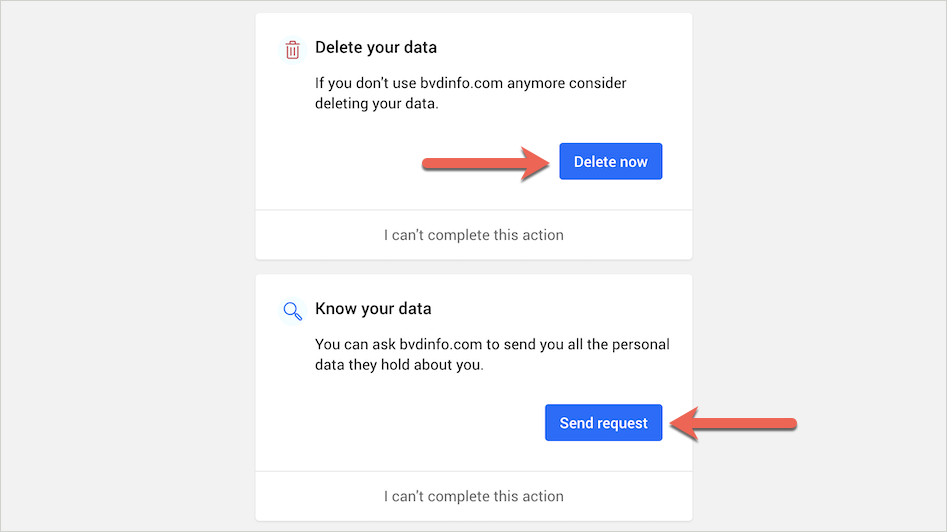
For accounts you no longer use:
- These accounts could pose a risk if the service suffers a data breach. It is recommended to delete the inactive account entirely.
- You can also send a formal personal data removal request by clicking the Delete now button and using the pre-written message.
- Finally, click Using this service, then select I’m not using this service to dismiss it. The information will still remain available on the web unless the company has deleted your data.
3. Dark Web Monitoring
Bitdefender Digital Identity Protection continuously monitors if your personal data – such as your name, email addresses, usernames, passwords, postal address, phone number, social security number (SSN), and credit card details (number, expiration date, CVV) – has been exposed on the Dark Web due to a data breach. If any of your information is compromised, it provides steps to help you take action and minimize the risks.
- Click the Dark Web Monitoring tab.
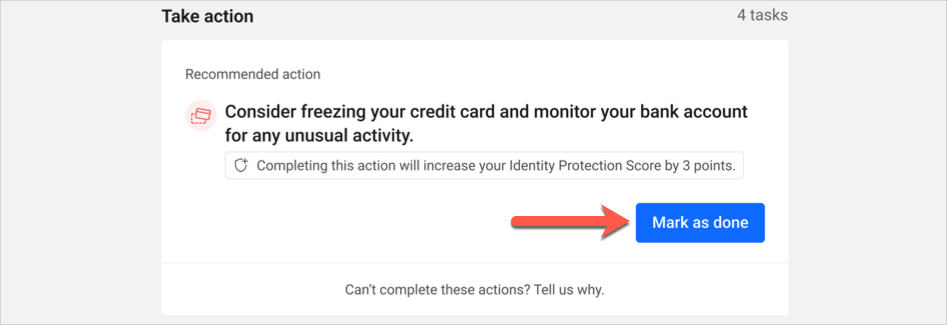
- Under some entries, you will find a list of actions required for securing your account.
- Click on Take action, then apply the recommended remediation (e.g. change the password of the breached account, turn on 2-step authentication, etc.).
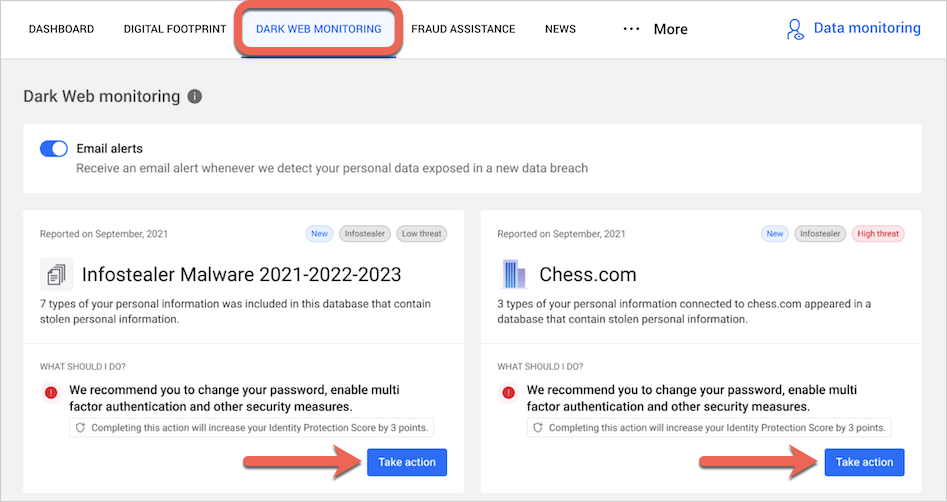
- Click Mark as done to confirm completed actions.
- Some breaches can’t be resolved this way and may not have specific steps. Instead, you’ll find links to helpful online resources.
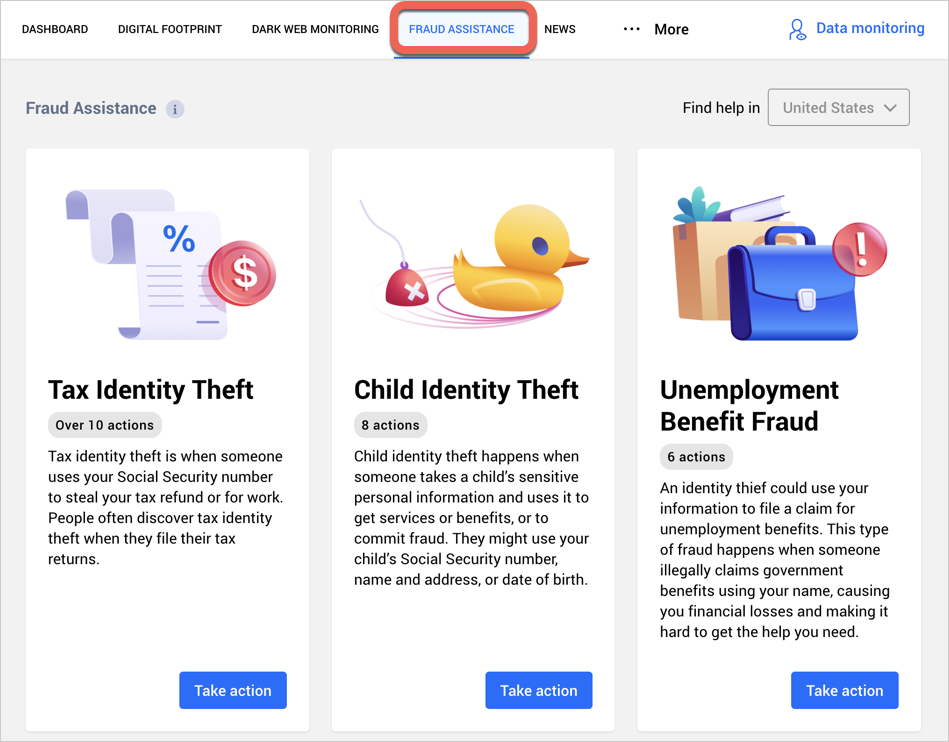
4. Fraud Assistance
If you become the victim of tax identity fraud, credit card fraud or other scams, this section guides you on next steps, including reporting the issue to authorities.
- Click on Take action to start.
- Fraud assistance is available in: Australia, Germany, Spain, France, Italy, Netherlands, UK, and the US.
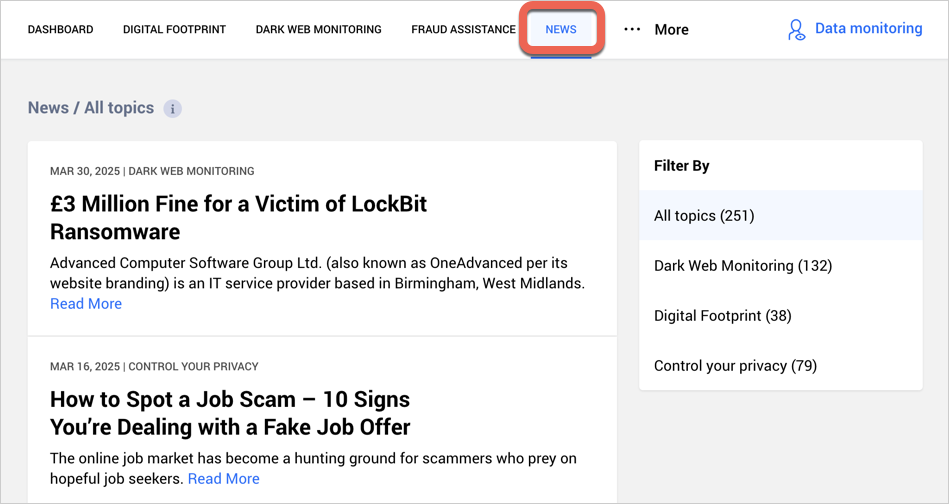
5. News
In this section, you will find informative articles on how Digital Identity Protection works, risks of online exposure, along with preventative measures to protect your digital identity.
6. Impersonation Check
After adding your name and phone number, Bitdefender Digital Identity Protection checks nearly 30 social media platforms for fake accounts pretending to be you.
When a potential match is found, choose one of three options, then click Confirm:
- It is an impersonation attempt
- It is my profile
- It is something else
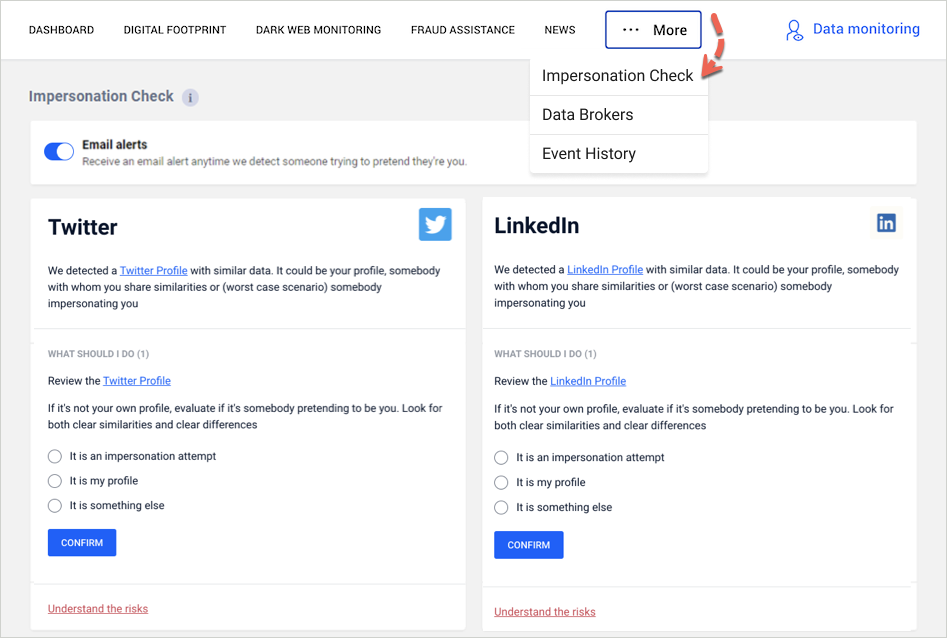
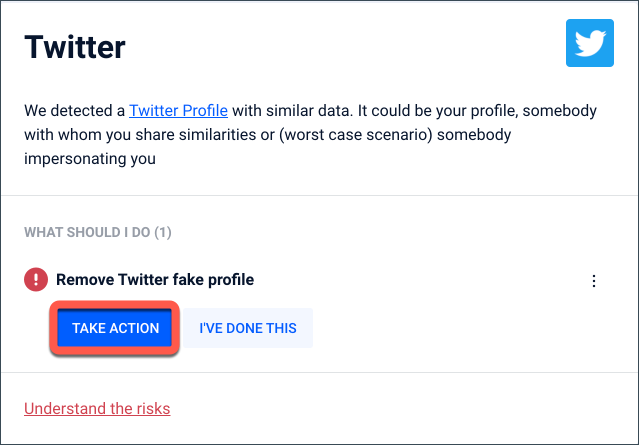
- If it’s an impersonation, click Take action to report the account.
- Click Mark as done after completing each step.
7. Data Brokers
Data brokers collect and sell your personal data to advertising or marketing companies. Bitdefender Digital Identity Protection is the only privacy service that provides an official list of registered data brokers. To take control of your data:
- Click Look for your data in each data broker’s panel.
- Some brokers may charge for access to their public database, but you don’t have to pay. Instead, you can ask them to delete your data.
- Click on Remove data and complete the form available on their website to submit a verifiable consumer request.

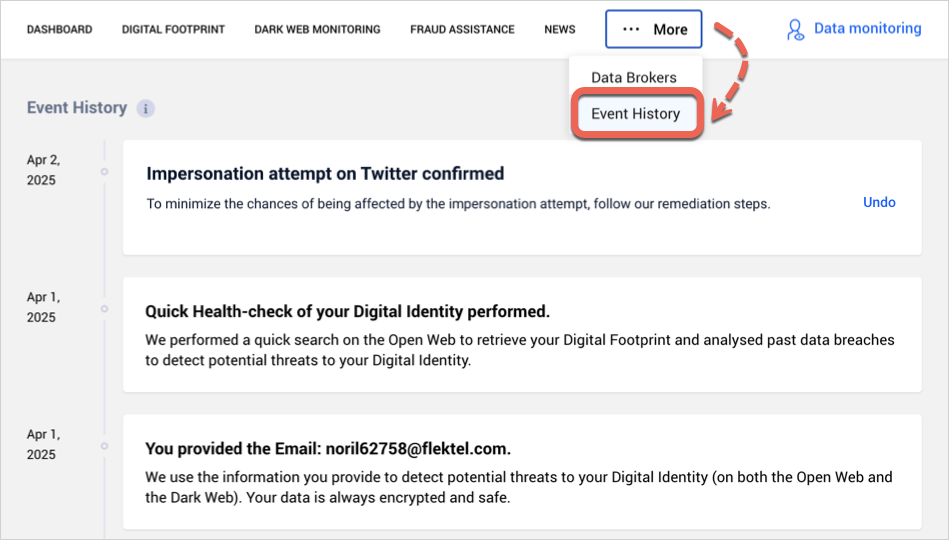
8. Event History
The Event History tab logs all actions, updates, and events since you started using Bitdefender Digital Identity Protection.
- Events are listed chronologically.
- Use the Undo button to revert some mistaken actions.
By following these steps, you can take control of your digital identity and keep your personal information secure online.
Congratulations! Bitdefender Digital Identity Protection is now activated, configured, and monitoring your personal data. Stay vigilant and regularly check your dashboard for new alerts to maintain your online security.