File Vaults are no longer part of Bitdefender products. This feature has been discontinued as of July 2020, but you can still recover your files locked in file vaults created with older Bitdefender versions.
This article will guide you through the export of your original file vault data.
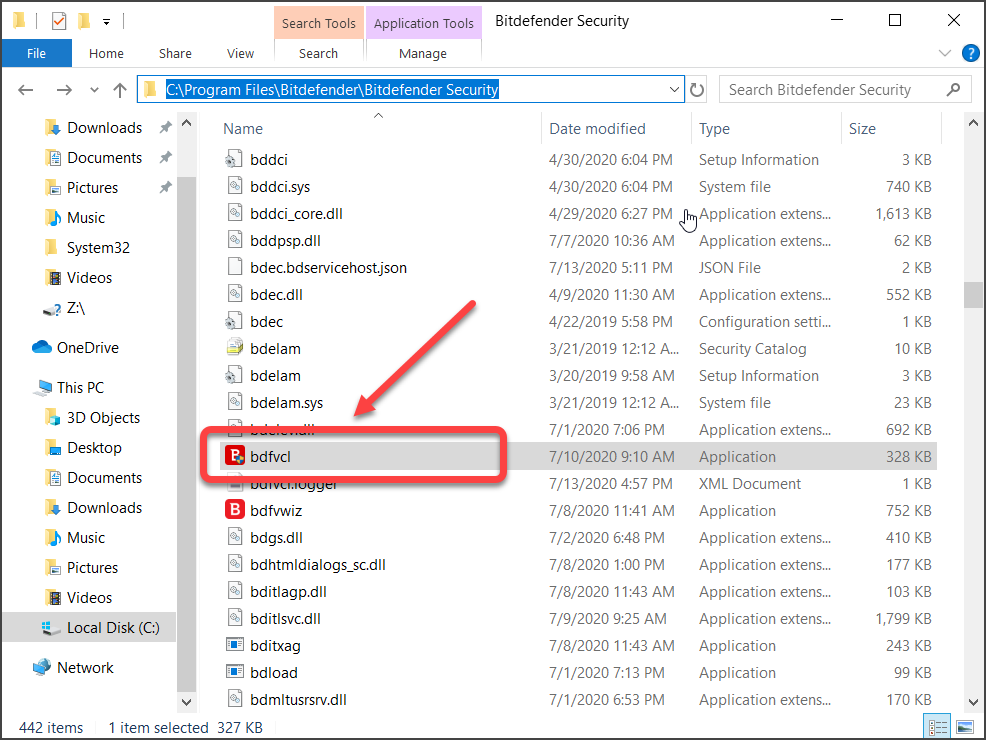
1. Double-click the bdfvcl file in the folder C:\Program Files\Bitdefender\Bitdefender Security
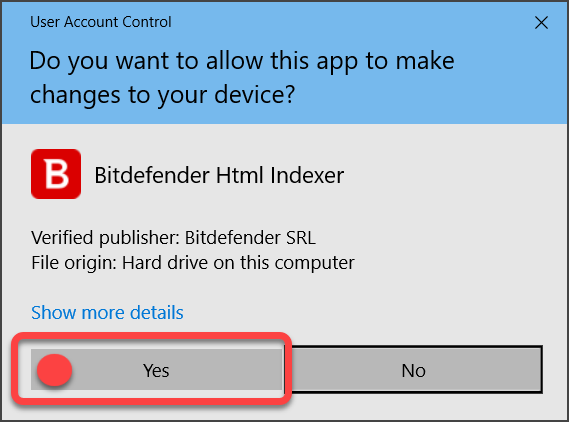
2. Choose Yes if presented with the User Account Control dialog box.
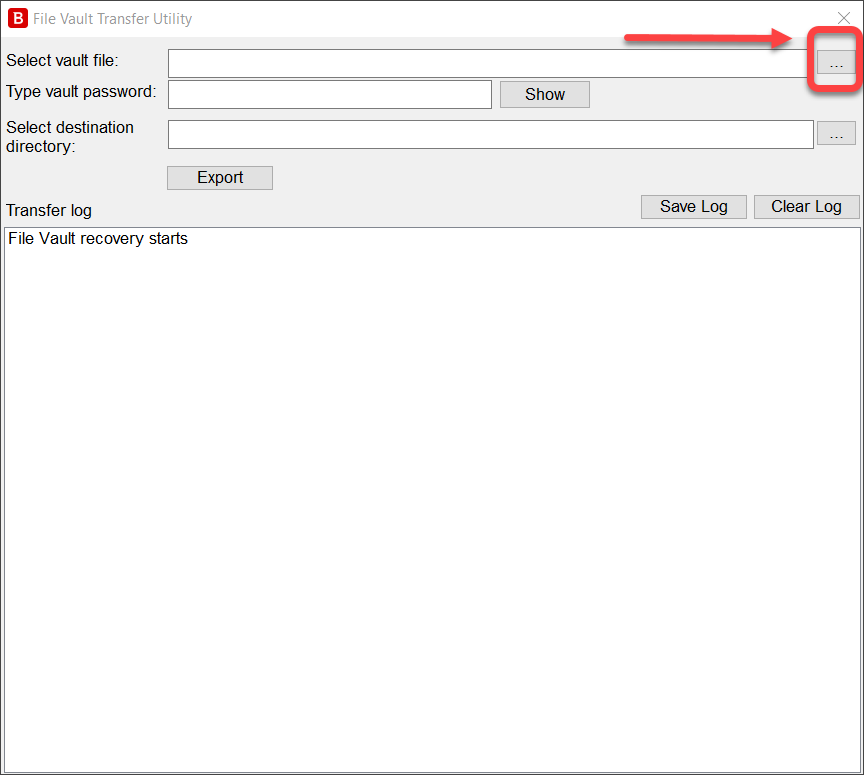
3. Click the three dots next to Select vault file.
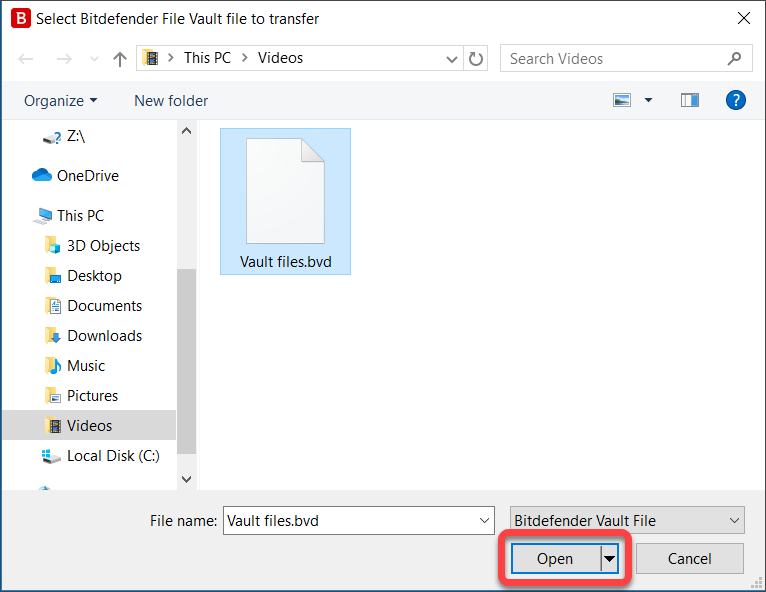
4. Locate the desired vault file, select it then press Open.
In our example below the vault name is Vault files.bvd and is located inside the Videos folder of the current user.
5. Enter the password you chose when creating this vault inside the field – Type vault password.
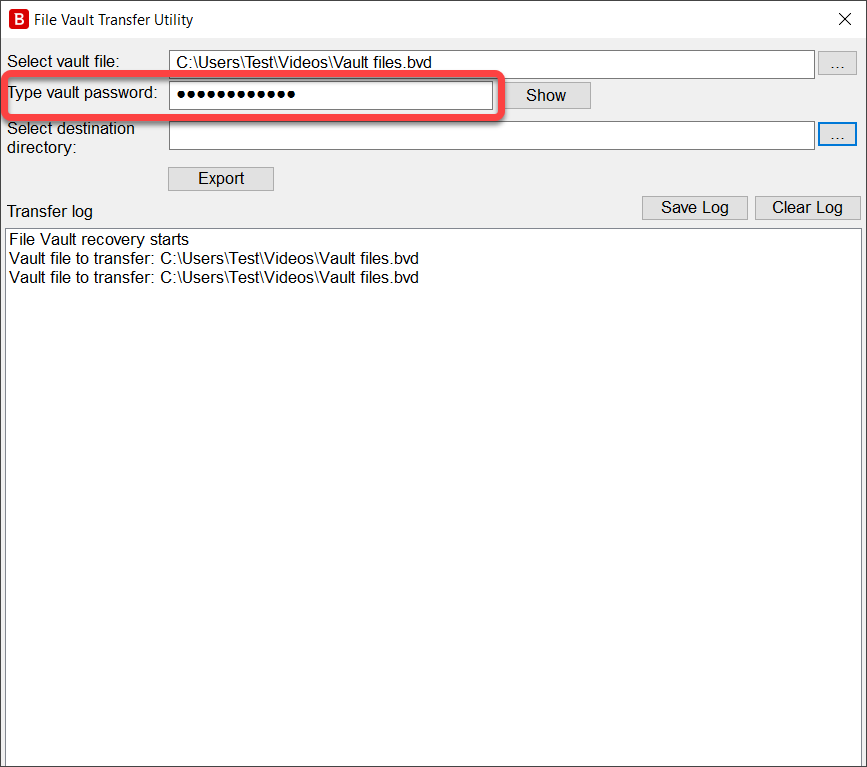
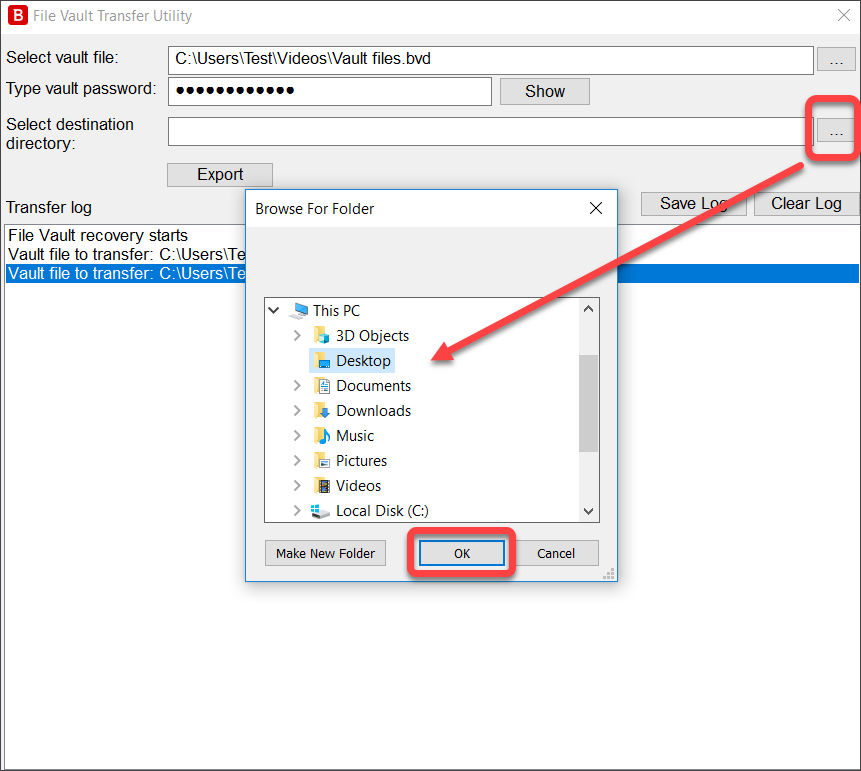
6. Click the three dots next to Select destination directory.
Then use this pop-up window to select the folder into which you want to extract the contents of the vault. Press OK to confirm.
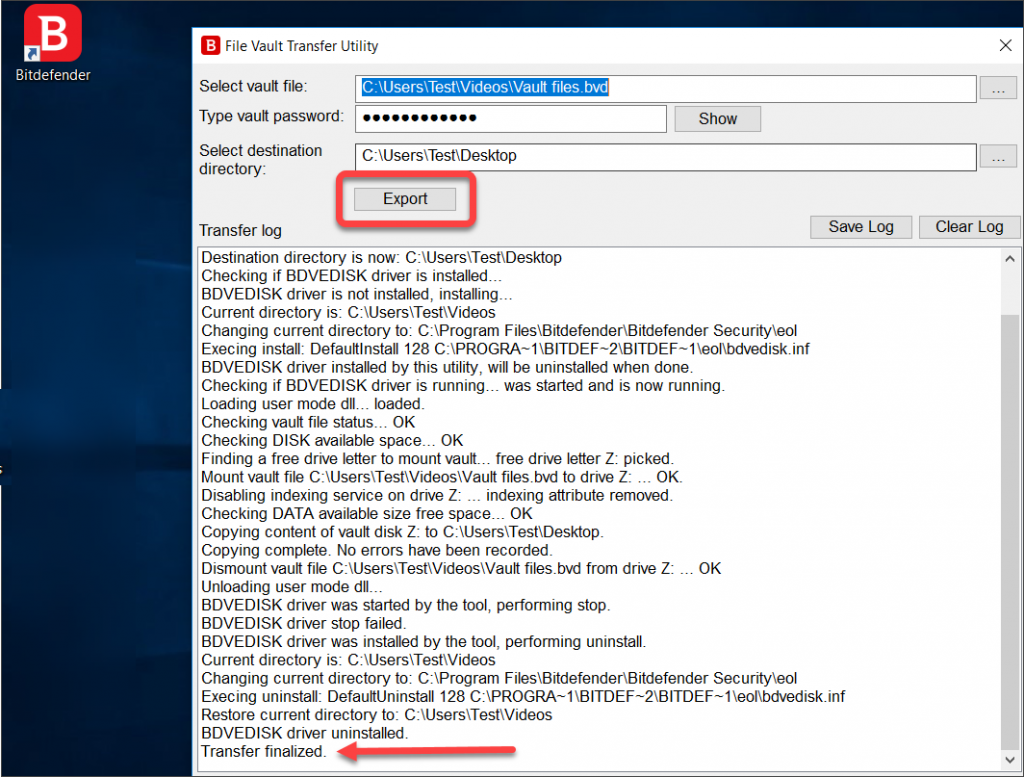
7. Press Export to extract the vault files to the specified folder. The process is complete when you see the message Transfer finalized at the bottom of the log.
NOTE: If the tool encounters errors or fails to export the content of the file vaults, proceed with the steps below.
• press the Windows Start menu ![]() in the lower-left corner of your screen
in the lower-left corner of your screen
• type cmd and right-click on Command Prompt from the search results, then select Run as administrator. This will open Command Prompt with administrative privileges.
• type net stop bdvedisk inside the black Command Prompt window that appears on your screen
• then press Enter on your keyboard. This will stop the file vault service.
• now repeat the 1 – 7 steps listed in this article to export your vault data.