When you try to use Bitdefender VPN on Android, a connection is attempted and then reverts to the initial connection screen without displaying any error message, it simply doesn’t connect? Don’t worry, we are here to help. There are a couple of reasons why Bitdefender VPN fails to connect on Android without giving you any error message: either the necessary permissions were not granted to the Bitdefender VPN app, or the Always-ON VPN profile is enabled for another VPN solution installed on the same smartphone or tablet.
Below you’ll find quick-fix solutions, so you can get back to surfing the web without stressing about privacy. After implementing each set of instructions, go back to Bitdefender VPN and try to connect. If Bitdefender VPN still fails to connect on Android without displaying any error message, continue with the next step. If at any point the VPN starts indicating an error code instead, stop and follow this tutorial – Fix Bitdefender VPN errors on Android.
Step 1 – Ensure Bitdefender VPN is allowed to connect
The first time you attempt to connect to Bitdefender VPN, there will be a prompt to allow the VPN app in Android Settings. If you skip this initial step or choose not to grant the necessary permissions, the Bitdefender VPN app will not be able to establish a connection.
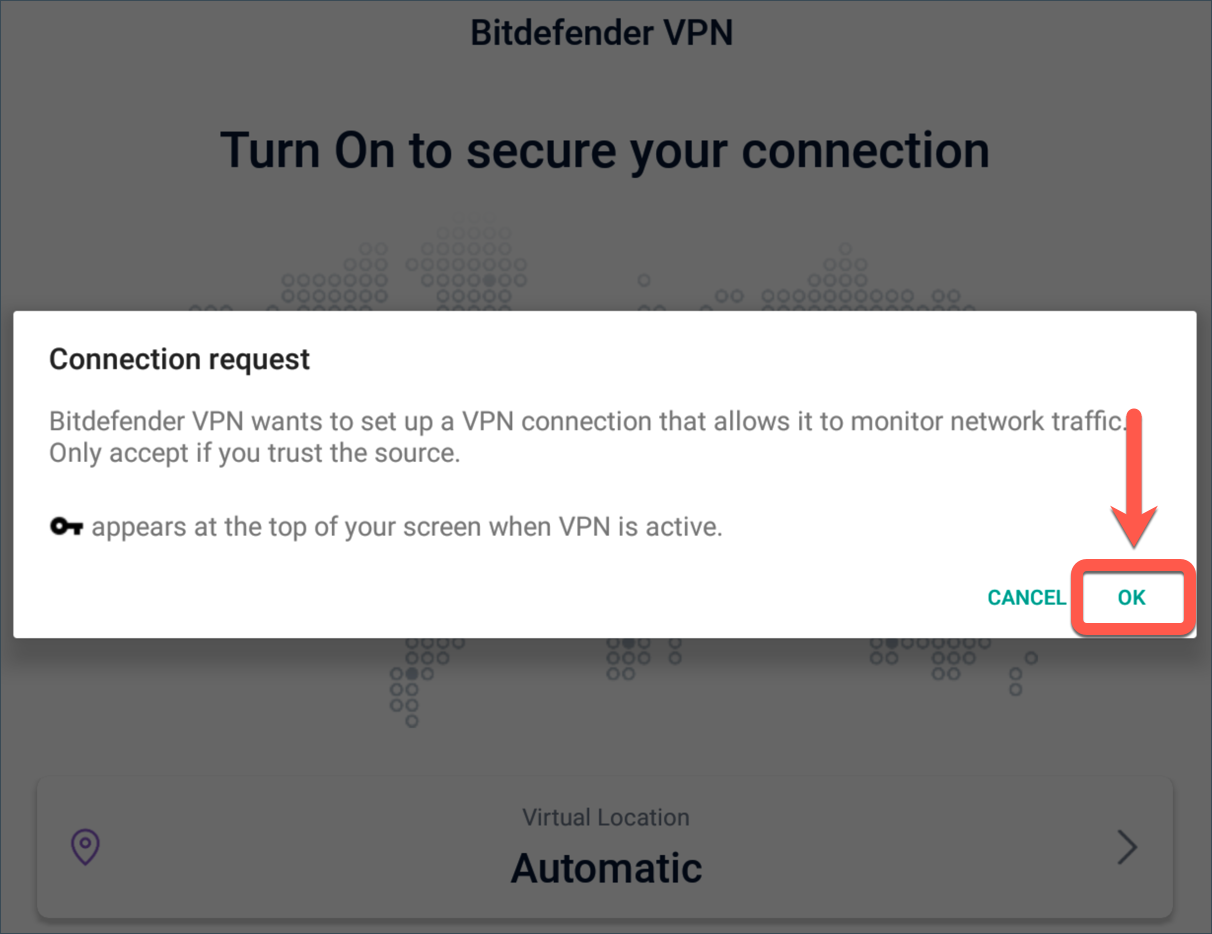
Tap the power button on the Bitdefender VPN interface. You will get a connection request. Tap ‘OK’ to accept it and follow the on-screen steps to allow Bitdefender VPN to connect.

Connection request – Allow it if Bitdefender VPN fails to connect on Android
Step 2 – Clear Bitdefender VPN’s cache and data
Clear Bitdefender VPN’s cached data to remove the temporary files and reset the app’s settings.
- Open your phone’s ‘Settings’ app
 .
. - Go to the ‘Storage’ section.
- Tap ‘Apps’ or ‘Other Apps’.
- Find Bitdefender VPN among the listed apps and select it.
- Tap ‘Clear data’.
After clearing the app data, go back to Bitdefender VPN and attempt to connect.
Step 3 – Uninstall and reinstall Bitdefender VPN on Android
To make sure all VPN files are intact, uninstall and reinstall Bitdefender VPN on your Android device.
- First, uninstall Bitdefender VPN from your device. Check out this article to learn how to uninstall the app on Android – Delete apps on Android.
- Then reinstall Bitdefender VPN from the Google Play Store. Learn how to reinstall apps on Android.
- Finally, tap the power button on the Bitdefender VPN interface. You will get a connection request. Accept it and follow the on-screen steps to allow Bitdefender VPN to connect.
Step 4 – Disconnect other VPN apps
Android doesn’t allow more than one VPN to be active. If the smartphone or tablet is already connected to another VPN app, then a second simultaneous connection from Bitdefender VPN will not be possible.
Therefore, make sure to disconnect from any other VPN before trying to connect to Bitdefender VPN.
Step 5 – Disable the Always-ON profile for other VPN apps
On Android 7 and later, you may want to look into a feature called Always-on VPN. Learn how to check your Android version. If Always-on is enabled for another VPN app installed on the device, it will block any network connections that don’t use that VPN, including Bitdefender VPN. To address this issue, turn off the Always-on VPN profile for all the VPN applications installed on your device.
This step-by-step guide will walk you through the whole process:
- Open your phone’s ‘Settings’ app
 .
. - Tap ‘Network & internet’. Depending on the device model, the name may vary – e.g. Wi-Fi & internet, Wi-Fi & network, etc.
- Tap ‘VPN’. If you can’t find it, search for the word VPN.
- Tap the small cogwheel
 next to the name of each VPN app from this list.
 - Disable ‘Always-on VPN’ if it’s enabled for any VPN except the Bitdefender app.

Turn Always-on VPN off if Bitdefender VPN fails to connect on Android