Onboarding Azure subscription(s)
Important
You need a Global Administrator Access in Azure in order to perform a Tenant-level onboarding.
To integrate an Azure tenant, follow these steps:
Under Scan Configuration, select Add Azure Subscription(s).
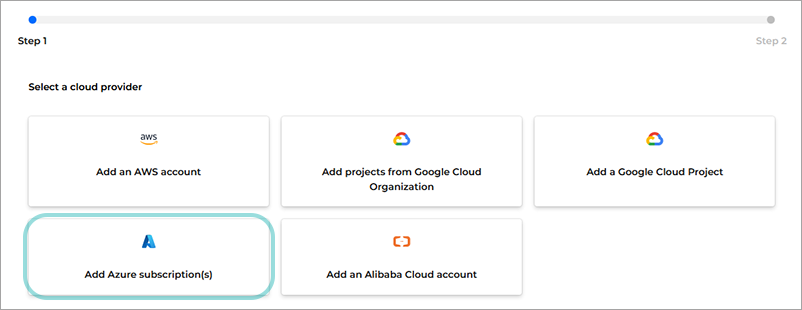
The Setting up Azure AD application and permissions window is displayed.
Select the Azure AD application you want to use:
If you do not have a pre-existing Azure AD application you want to use, follow this procedure to set up a new one and manually fill in the required information.
If you have a pre-existing Azure AD application, click the drop-down menu under Select a pre-existing Azure AD application and select the application you want to use, and click Next.
Select the subscription(s) you want to onboard and click the Add button.
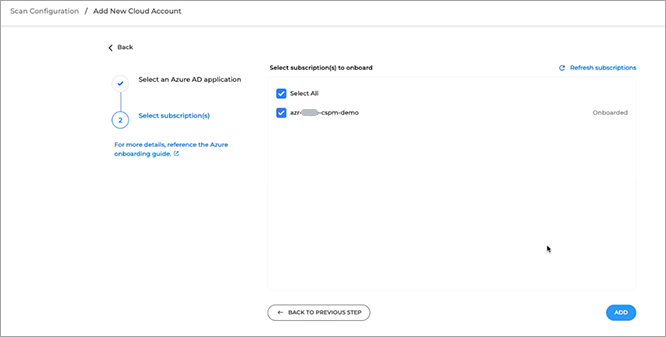
Scan Configuration page is automatically displayed and you can view the accounts you onboarded.
Create a new Azure AD application
Open a new browser tab or window and log in to the Azure Portal with an administrator account.
Create an Azure AD application from your Azure Portal:
Navigate to App registrations.

Click New registration.

The Register an application window is displayed.
Type in a descriptive name for the application under Name.
Click Register:

The new application is displayed:

Copy the Display name, Application (client) ID, and Directory (tenant) ID.
Go back to the Scan Configuration browser page and paste the information copied at step 5.
Add API permissions to the application:
Click the API permissions link in the menu on the left side of the page.
The API permissions page is displayed.
Click + Add permission.

The Request API permissions window is displayed.
Select Microsoft Graph.

The Microsoft Graph permissions page is displayed.
Click on Application permissions.

A list of available permissions is displayed.
Add the following permissions:
User.Read.AllGroup.Read.AllApplication.Read.AllUserAuthenticationMethod.Read.All
Click Add permissions.

The Configured permissions window is displayed.
Click Grant admin consent for Default Directory.

If you require assistance getting the necessary permissions, refer to this Azure article.
Set up a Client secret:
Click the Certificates & secrets link in the menu on the left side of the page.
Click + New client secret.

The Add a client secret window is displayed.
Type in an easily identifiable description in the Description field.
Set the Expires setting to 24 months.
Note
When the client secret expires you will have to create a new one and manually add it to the integration.
Click Add.

Important
Do not close or refresh the window until the update is finished.
Copy the value under the Value column of the newly created Client secret.
Go back to the Scan Configuration browser page and paste the information copied at step 7.
Click Next
Select one of the following options:
ARM Deployment
Click the Deploy ARM template button.
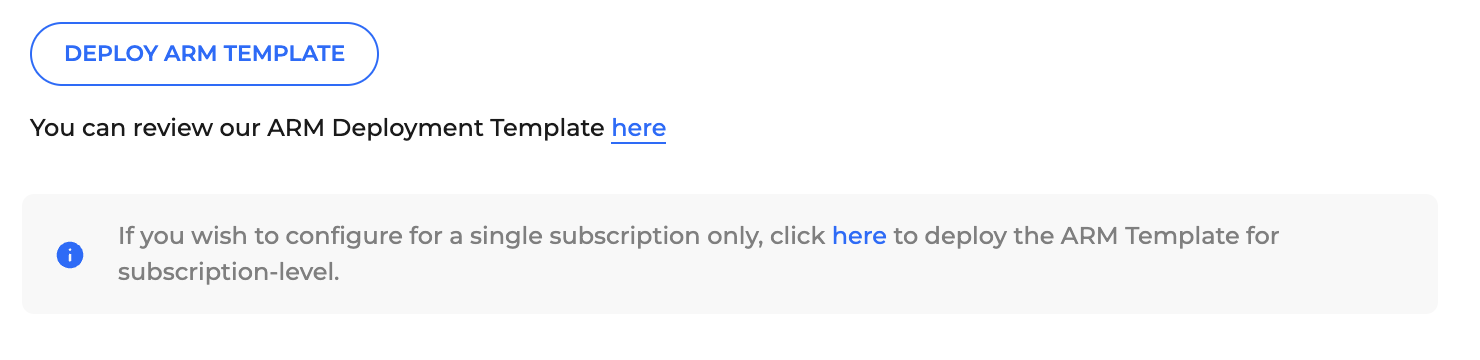
The Custom deployment page will be displayed in a new browser window.
Configure the custom deployment settings:
Under Project details, select the Subscription you want to use.
Select the region where your cloud account is located.
Type in a descriptive name for the role.
Click Review + create.
Review the displayed information and click Create.
Important
Do not close or refresh the window until the update is finished.
Note
Refer to this article if you encounter any error during deployment. A common reason is
AuthorizationFailed due to missing microsoft/resources/deployments/validate/action" rights.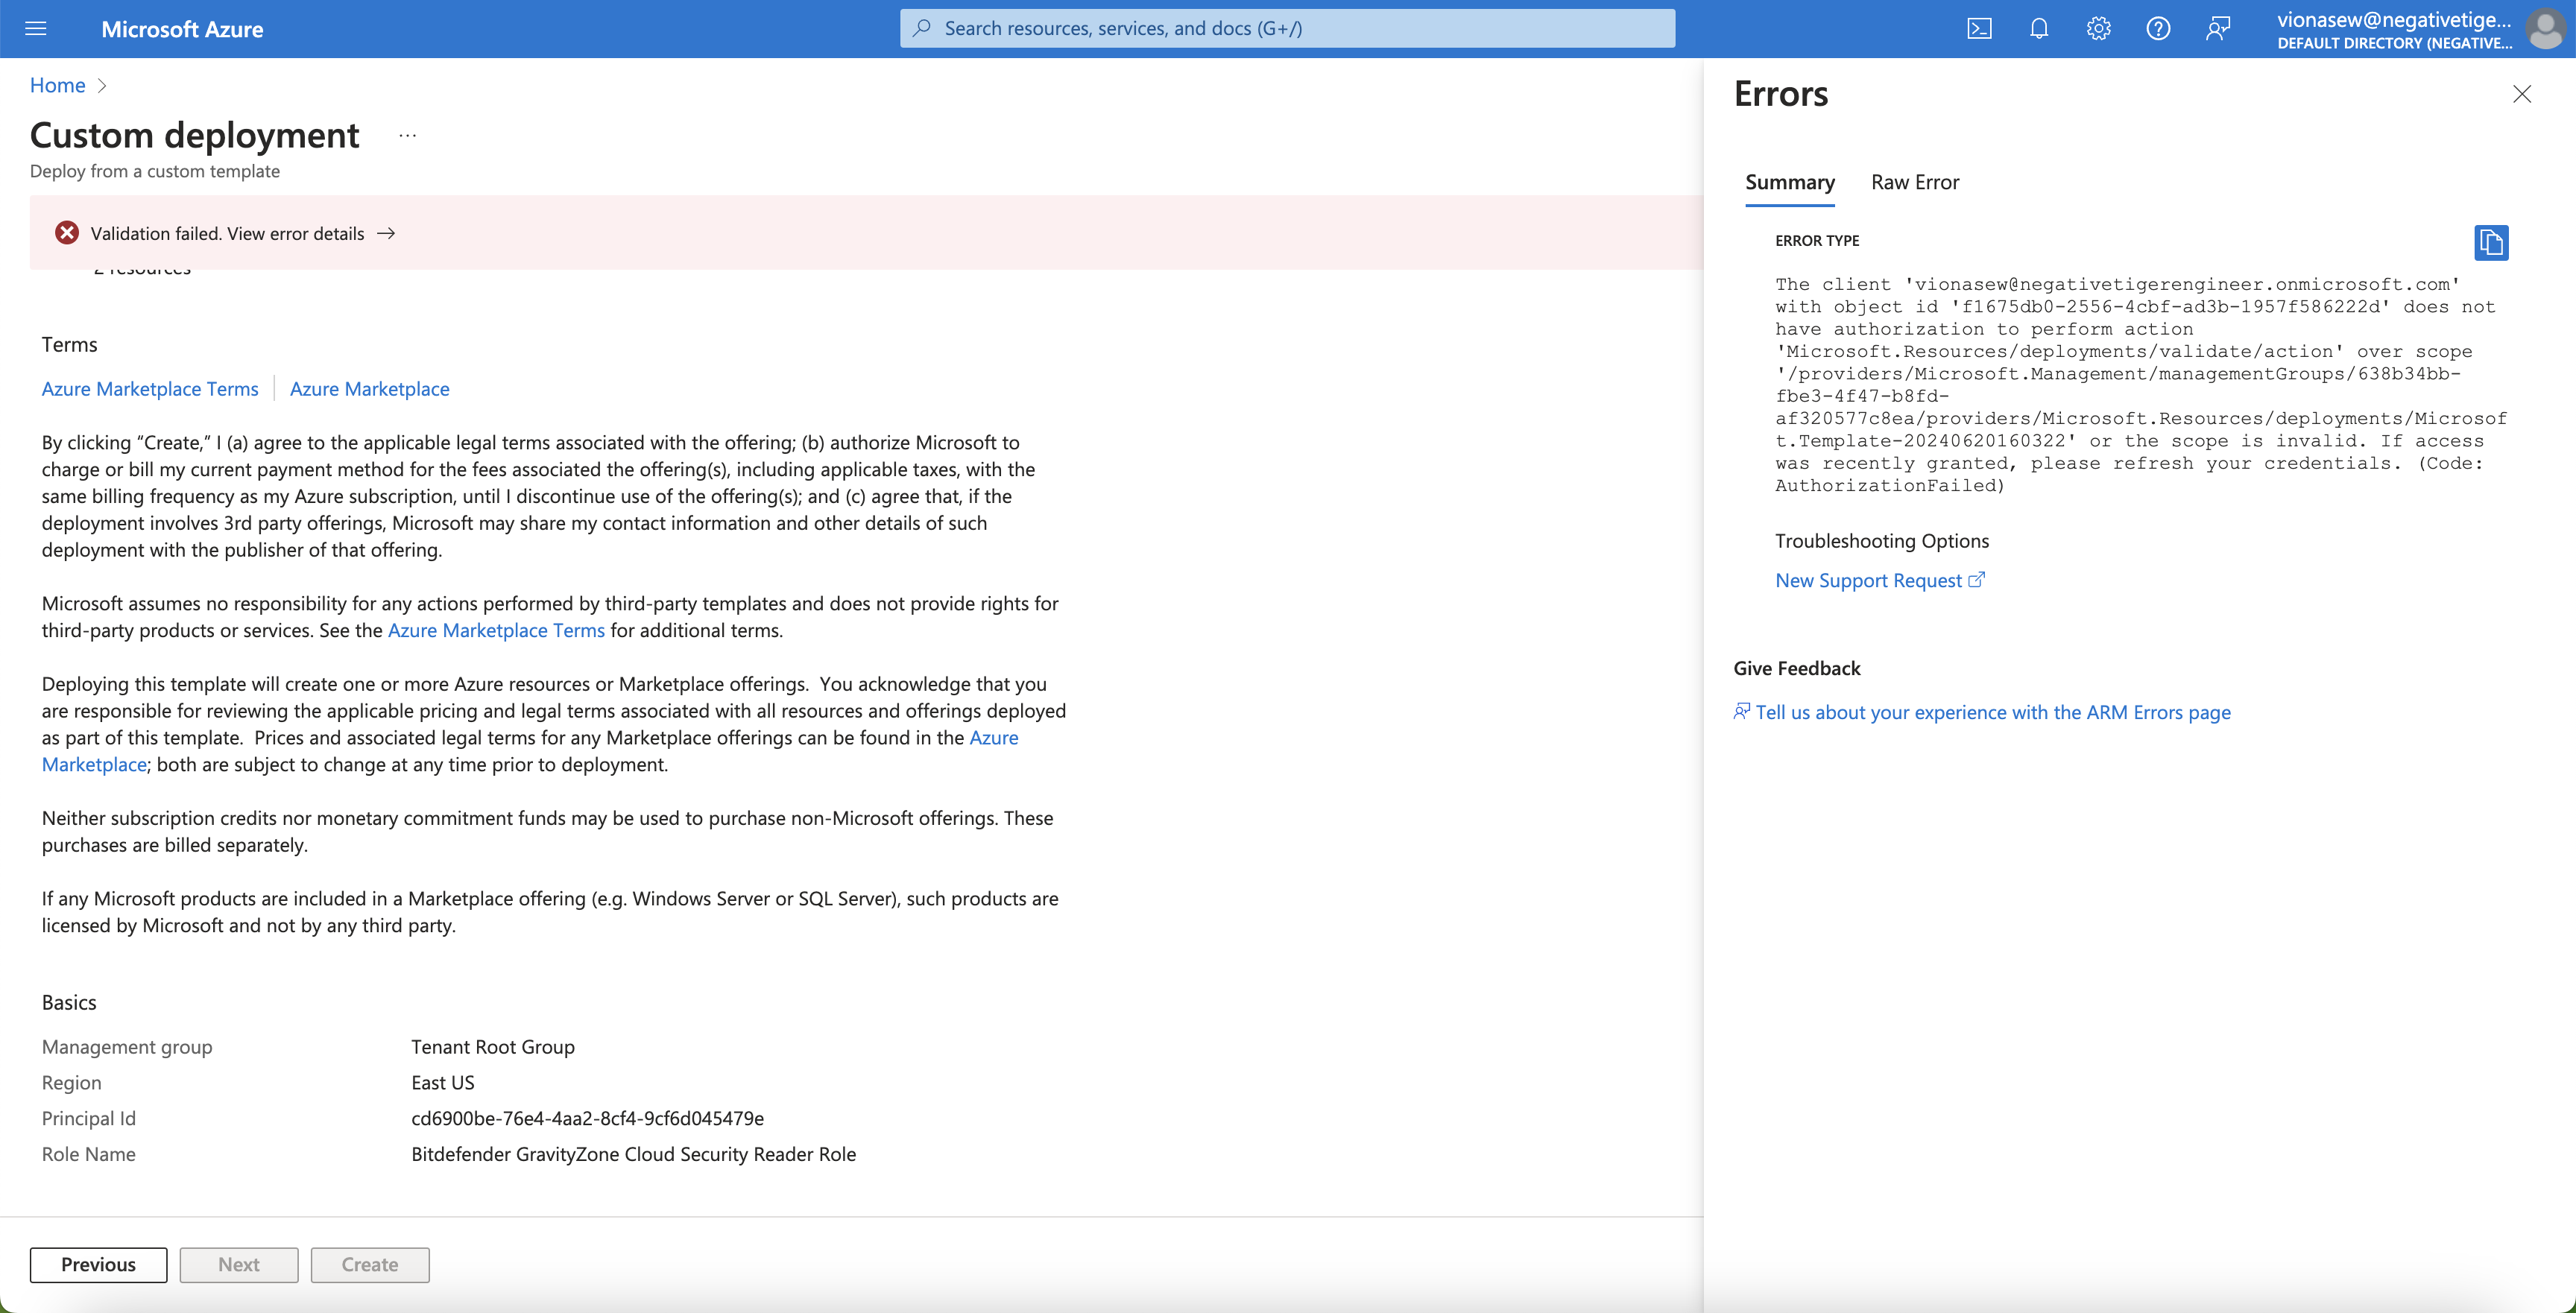
Manual
Open a new browser tab or window and log in to the Azure Portal with a Tenant-level administrator account.
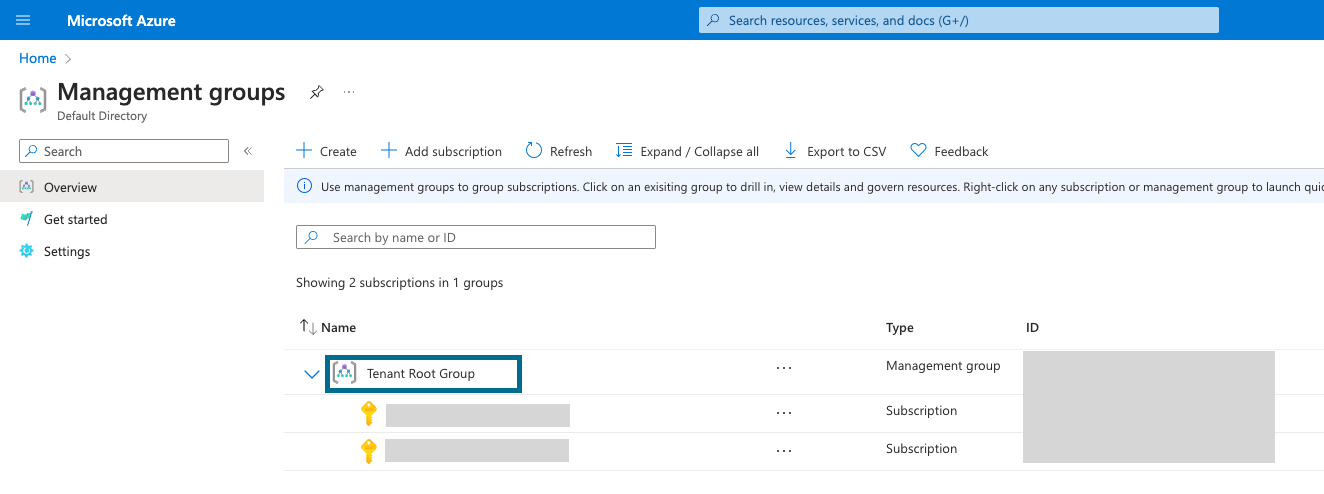
Go to the Management Groups page and select the Management Group you would like to configure.
Tip
To ensure you this application will have access to all Management Groups and Subscriptions under it, you should select the highest level Management Group possible (i.e: Tenant Root Group).
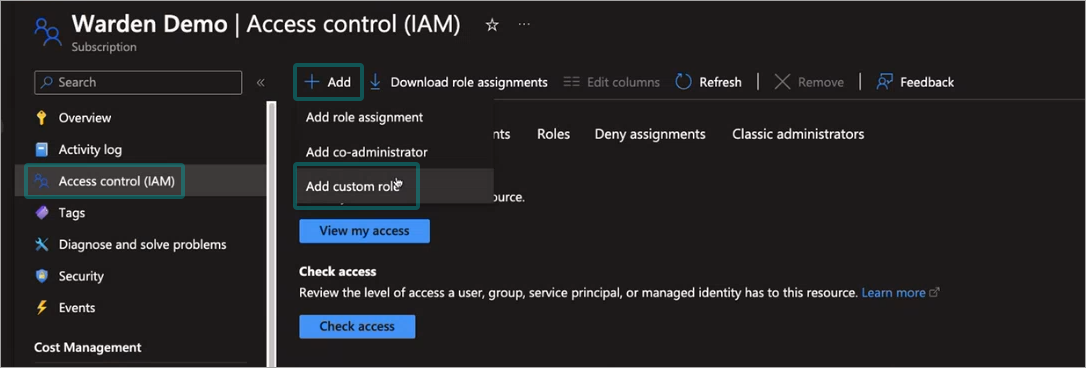
Go to the Access control (IAM) page.
Click the + Add button and select Add custom role.
In the Basics tab fill in the following information:
Under Custom role name type in a unique identifier for the role.
In the Description field add in information that will make the role easily identifiable.
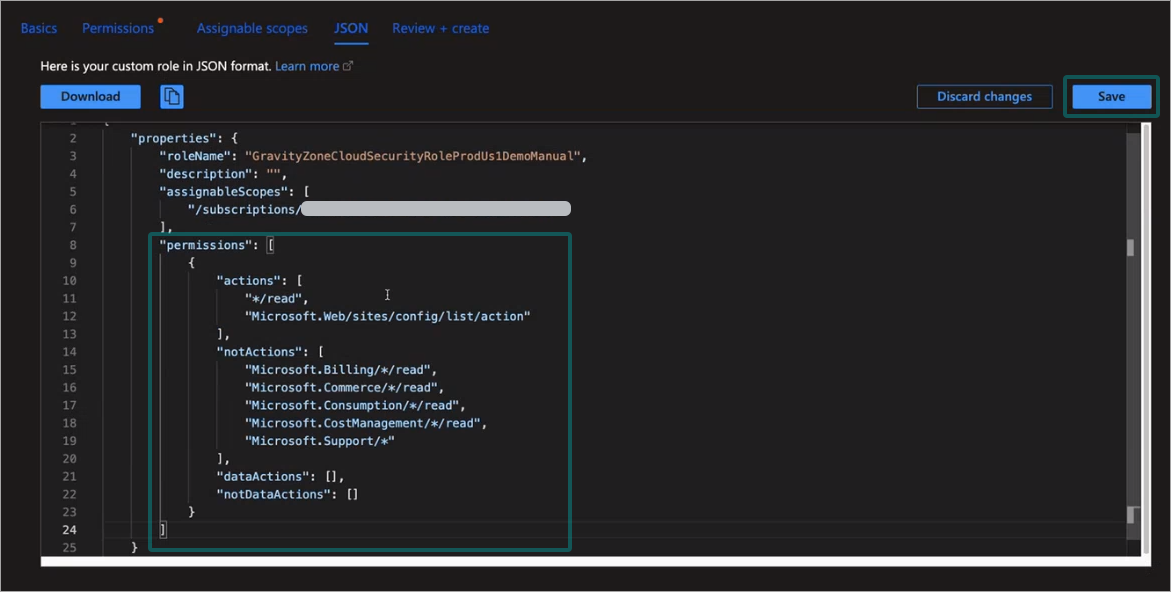
Go to the JSON tab and click the Edit button.
Go back to the Selecting an Azure subscription browser page and copy the "permissions” parameter.
Go back to the JSON tab and paste it over the same parameter.
Click the Save button on the upper right side of section.
Click the Review + create button on the lower left side of the page.
Click the Create button on the lower left side of the page.
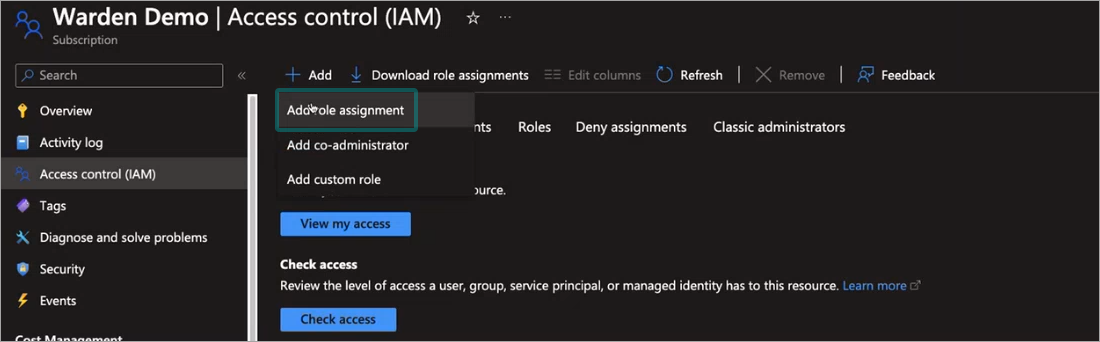
The Access control (IAM) page is displayed.
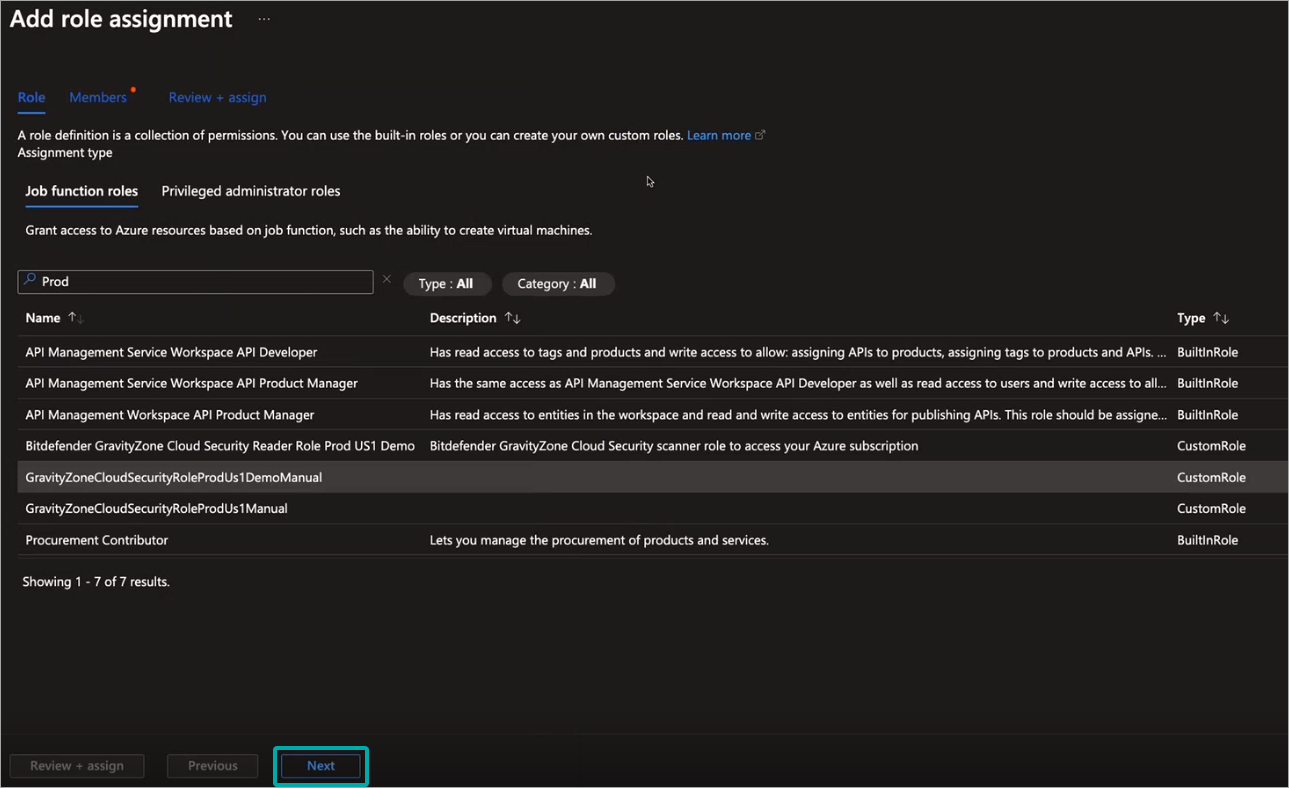
Click the + Add button and select Add role assignment.
The Add role assignment page is displayed.
Click on the name of the role you created earlier in step 5.
Click the Next button in the lower side of the page.
The Add role assignment page is displayed.
Under the Members tab, click + Select members.
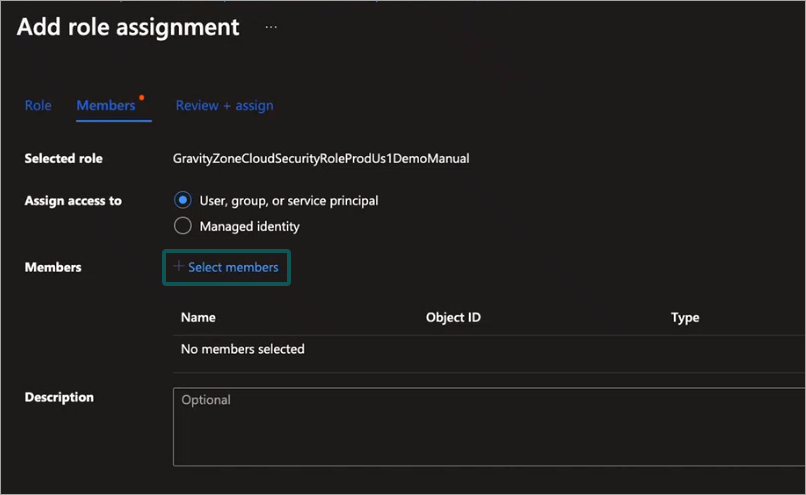
Select the name of the application for this connection.
Click the Review + assign button on the lower left side of the page.
Go back to the Selecting an Azure subscription browser page.
Select the Azure subscription you want to use from the Select an Azure subscription option.
Click the Add account button.