Relay
In the Relay section of the policy, you can define communication and update settings for target endpoints assigned with relay role.
Note
This module is available for:
Windows for workstations
Windows for servers
Linux
The settings are organized into the following sections:
Communication
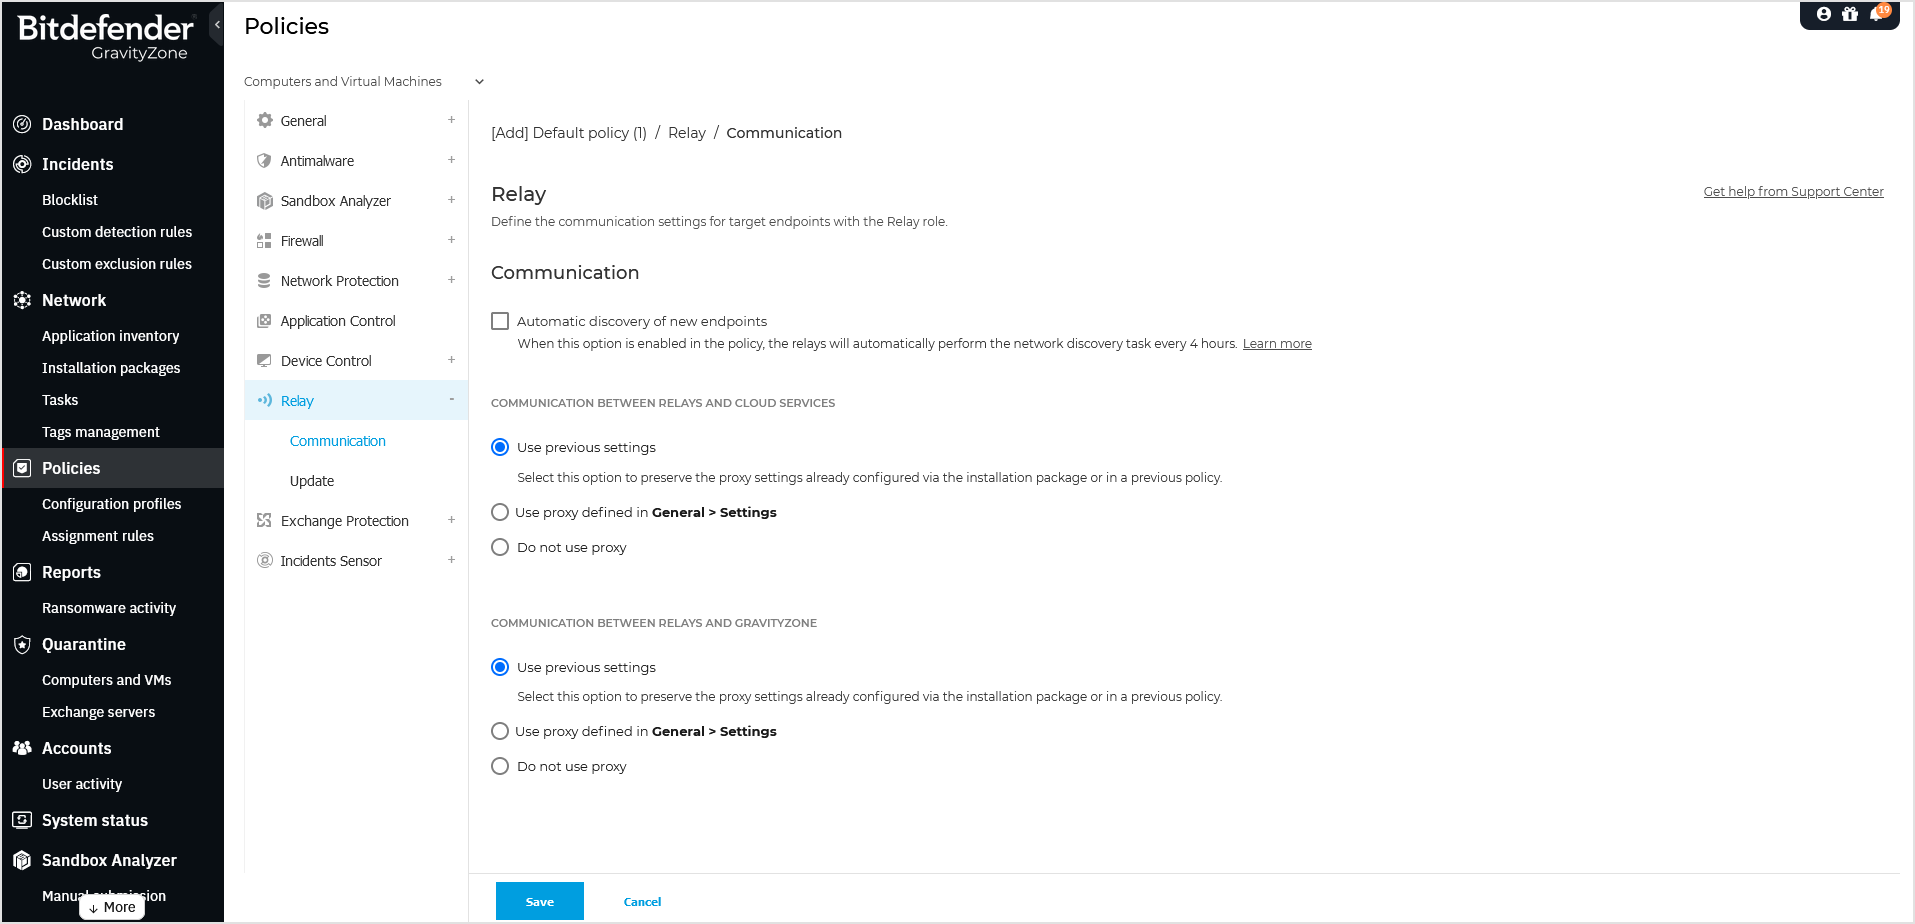
The Communication tab contains proxy preferences for the communication between relay endpoints and the GravityZone components.
If needed, you can configure independently the communication between target relay endpoints and Bitdefender Bitdefender Cloud Services / GravityZone, using the following settings:
Keep installation settings - to use the same proxy settings defined with the installation package.
Use proxy defined in General > Settings - to use the proxy settings defined in the current policy, under General > Settings section.
Do not use - when the target endpoints do not communicate with the specific Bitdefender components via proxy.

Update
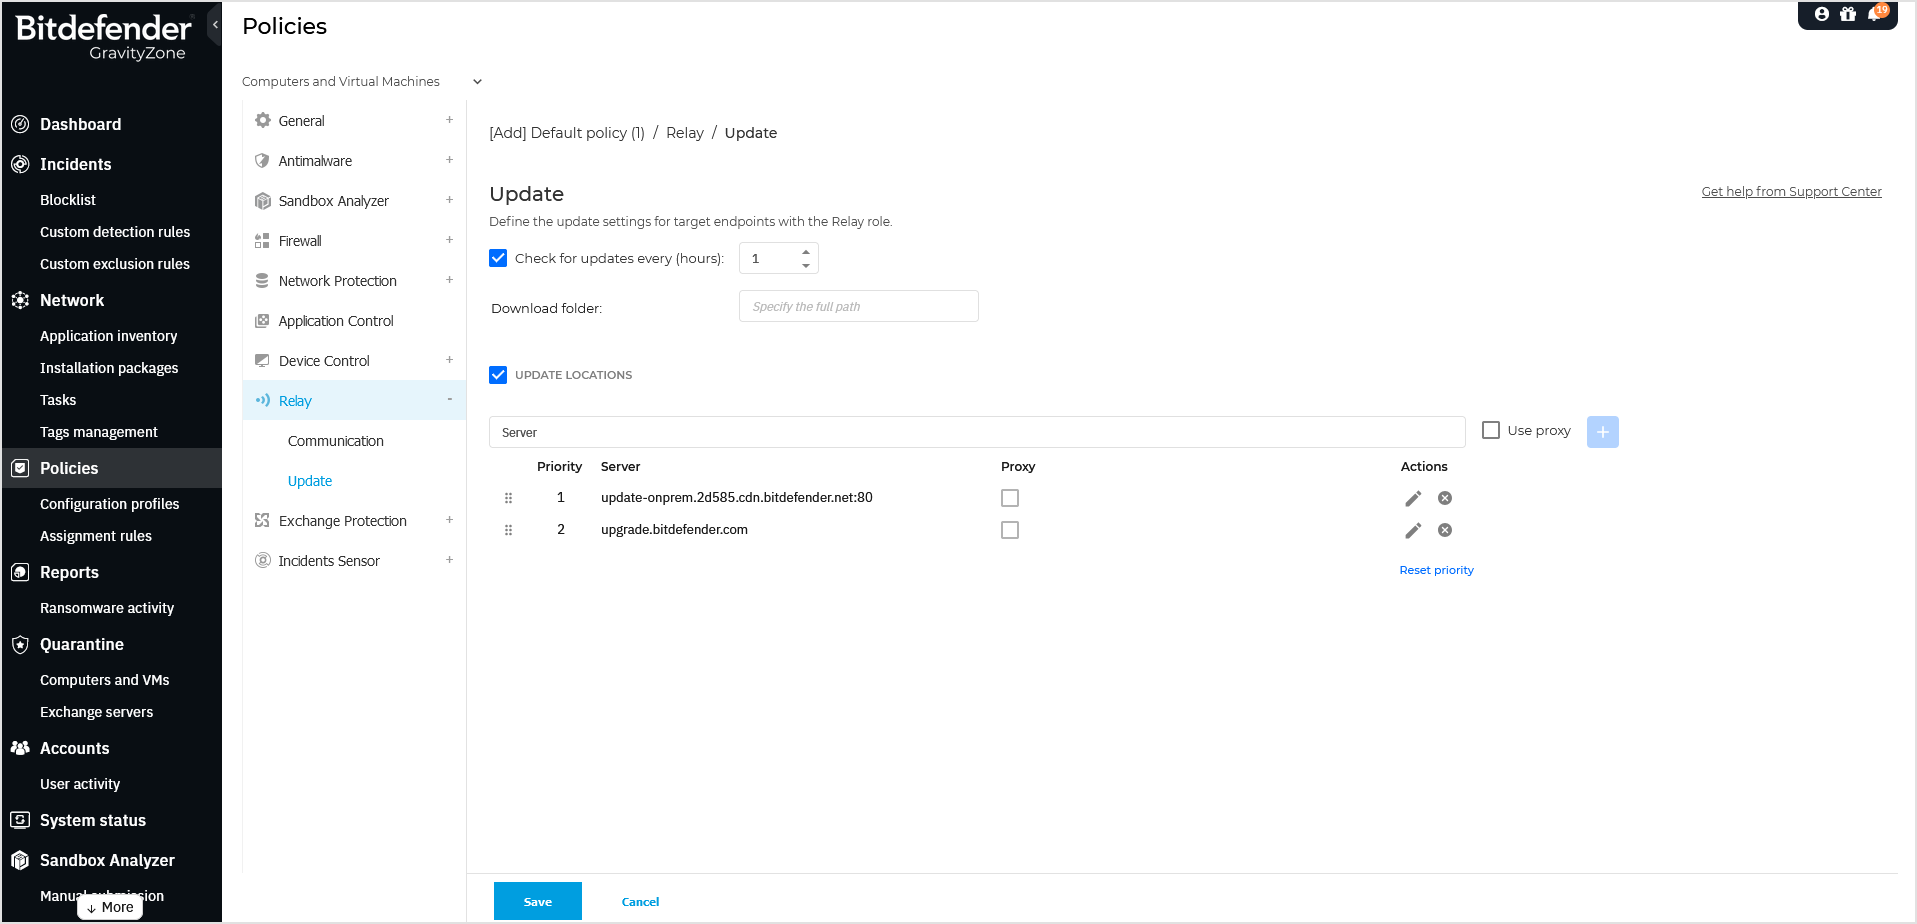
This section allows you to define the update settings for target endpoints with relay role:
Under Update section, you can configure the following settings:
The time interval when the relay endpoints check for updates.
The folder located on the relay endpoint where product and signature updates are downloaded and also mirrored. If you want to define a specific download folder, enter its full path in the corresponding field.
Important
It is recommended to define a dedicated folder for product and signature updates. Avoid choosing a folder containing system or personal files.
This Download folder is also where the Patch caching data is stored.

Update locations. The default update location for relay agents is the local GravityZone update server. You can specify other update locations by entering the IP or the local hostname of one or several update servers in your network, then configure their priority using the up and down buttons displayed on mouse-over. If the first update location is unavailable, the next one is used and so on.
To define a custom update location, follow these steps:
Enable the Update locations option.
Use one of these syntaxes:
update_server_ip:portupdate_server_name:port
The default port is 7074.
If the relay endpoint communicates with the local update server through a proxy server, select Use proxy. The proxy settings defined in the General > Settings section will be taken into account.
Click the
 Add button at the right side of the table.
Use drag and drop to set the priority of the defined update locations. If the first update location is not available, the next one is taken into account, and so on.
To edit a location from the list, follow these steps:
In the grid, click the corresponding
Edit button.
Make the necessary changes.
Click the
 Save button to confirm the changes.
Click the
 Cancel button to exit the editing mode without changes.
To remove a location from the list, click the corresponding
 Delete button.
Although you can remove the default update location, this is not recommended.